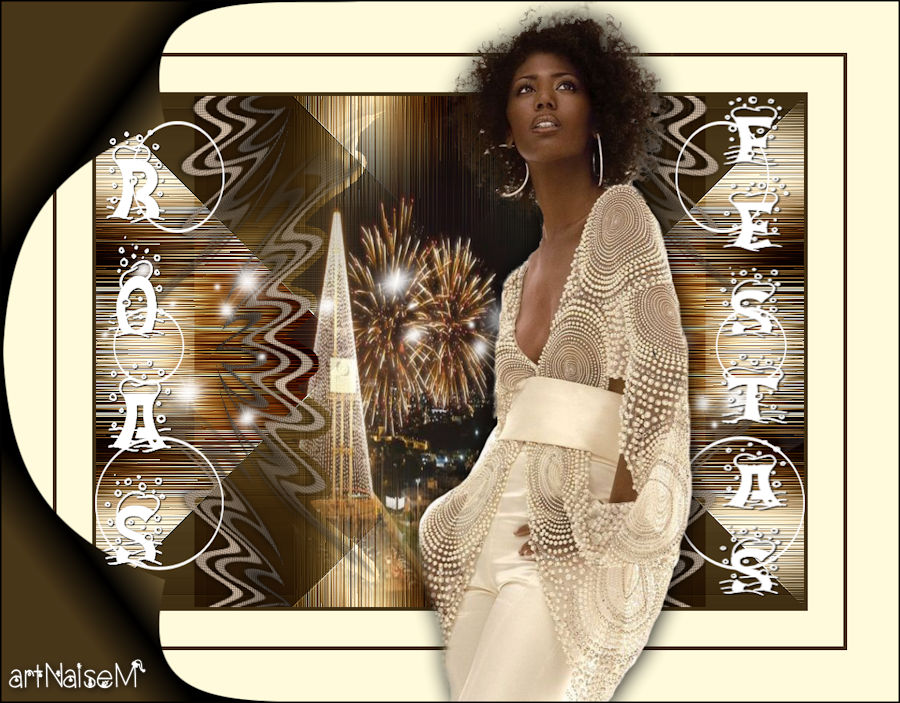

Made with PSP 2020, but it can be done in any other version.
Material

Plug-ins
Filters Unlimited 2.0
VM Toolbox
Bkg Designers sf10 IV
 |
|
1_. Open your image: Edit → Copy.
2_. Open a new transparent image of 900 x 650 px.
Selections → Select All.
Edit → Paste Into Selection.
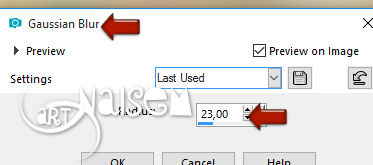
Adjust → Blur → Gaussian Blur: 23,00.
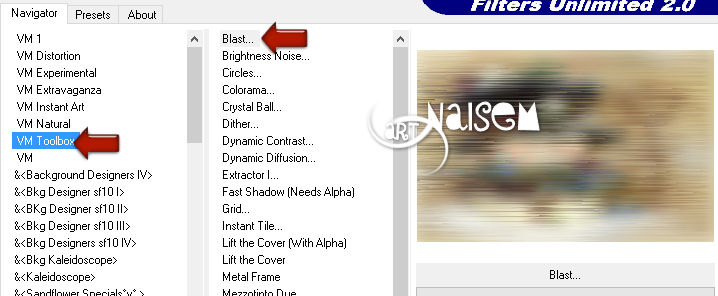
Effects → Plugins → Filters Unlimited 2.0 → VM Toolbox → Blast, with the settings below.
Effects → Plugins → Filters Unlimited 2.0 → &<Bkg Designers sf10 IV> → @BlueBerry Pie, with the settings below.
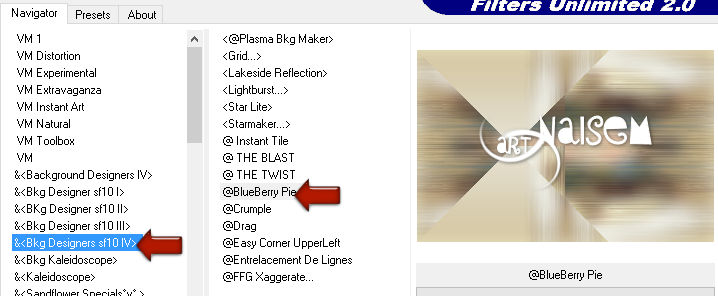
Repeat the same effect.
Layers → Properties → Blend Mode: Multiply (or whichever you prefer).
Layers → Merge → Merge Down.
Use Nik Color Efex Pro 3.0, if you wish.
3_. Open decor_nmcriacoes_35: Edit → Copy.
Edit → Paste As New Layer on your work and adjust it with the Pick tool, as shown in the print.
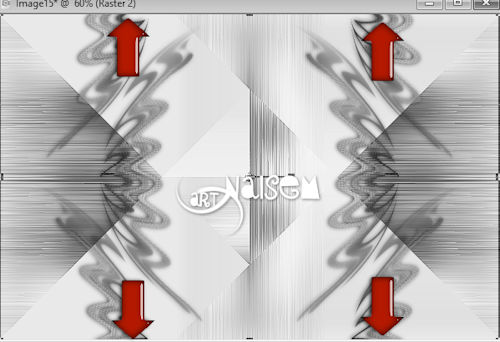
4_. With the Magic Wand tool, select the center, as shown in the print.
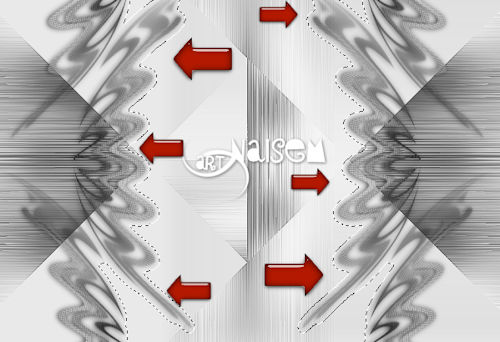
Choose a misted: Edit → Copy.
Edit → Paste Into Selection.
Selections → Select None.
5_. Layers → New Raster Layer.
Fill with the color #ffffff.
Apply the mask Narah (mask_narah).
Layers → Merge → Merge Group.
6_. Image → Add Borders → Symmetric checked:
5 px - color #423314
32 px - color #ffffff
5 px - color #423314
45 px - color #ffffff
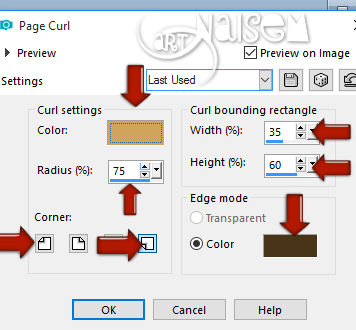
7_. Effects → Image Effects → Page Curl: corners 1 and 4, with the settings below.
8_. Selections → Load/Save Selection → Load Selection From Disk: #selecao_brilhso_de_natal.
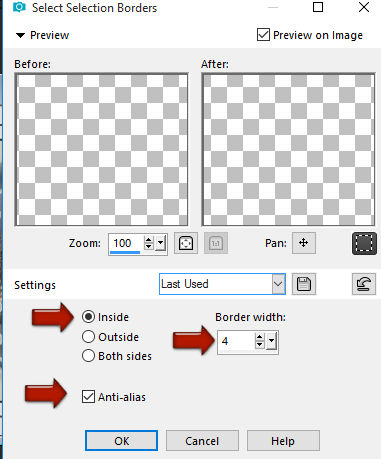
Selections → Modify → Select Selection Borders.
Layers → New Raster Layer.
Fill with the color #ffffff.
Selections → Select None.
Image → Free Rotate.
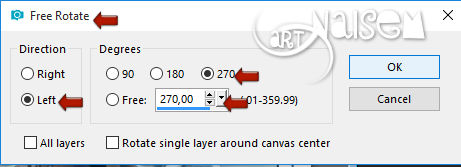
With the Pick tool, bring it to the left side, as shown in the print.
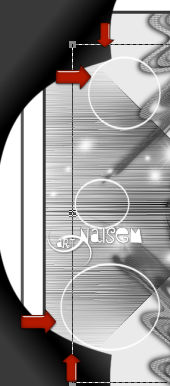
Layers → Duplicate.
Image → Mirror → Mirror Horizontal.
Layers → Merge → Merge Down.
Effects → 3D Effects → Drop Shadow: 1 / 1 / 66 / 1,00.
9_. Apply the title (titulo_boasfestas) and adjust it as you wish.
Apply a Drop Shadow of your choice.
10_. Apply your tube.
11_. Sign your work.
12_. Image → Add Borders → Symmetric checked: 5 px - color of your choice, from your work.
13_. Image → Resize: 900 px.
14_. Save as JPG.
ANOTHER MODEL
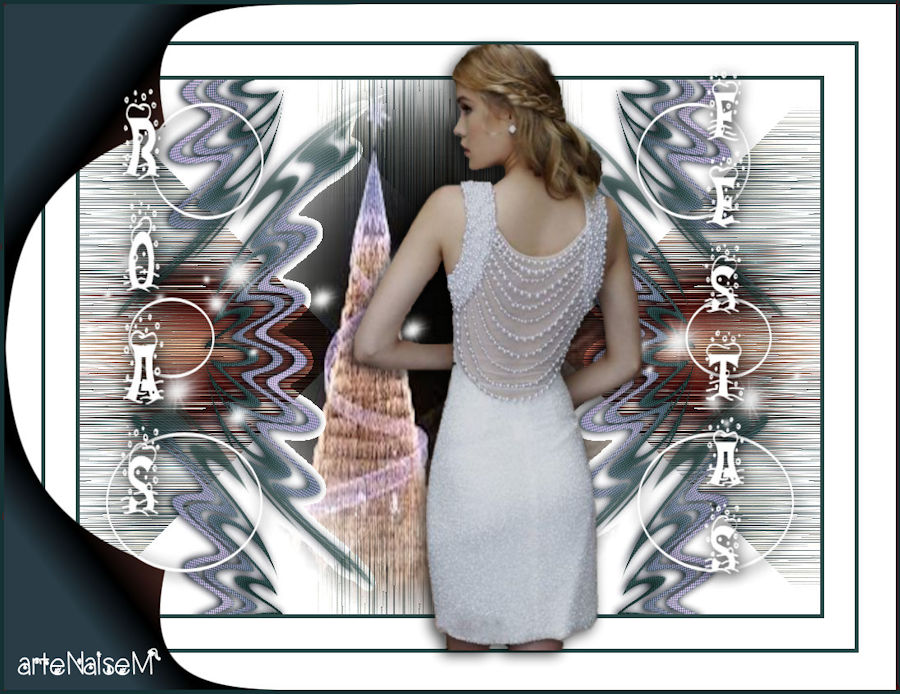
24/11/2019