 |
Use the arrow to mark your line
Click with the mouse to move it
|
Walkthrough
1_. Open a new transparent image of 900 x 500 px.
Fill with a Linear gradient: Angle 0 / Repeats 0.
2_. Apply mask 3: Layers → Load/Save Mask → Load Mask From Disk.
Layers → Merge → Merge Group.
Effects → User Defined Filter → Emboss 3.
3_. Layers → New Raster Layer. Fill with the same gradient.
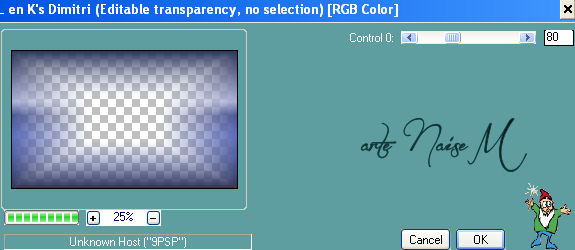
4_. Effects → Plugins → L en K landksiteofwonders → L en K's Dimitri: 80.
5_. Effects → 3D Effects → Buttonize.
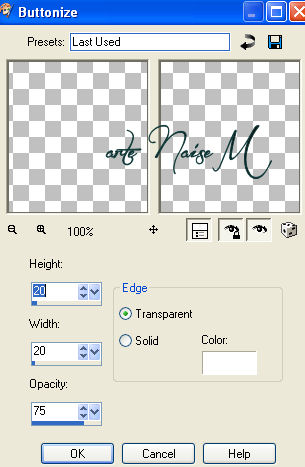
6_. Effects → Geometric Effects → Circle: Repeat.
7_. Choose an image or a tube of your choice and apply it to the circle.
Layers → Merge → Merge All.
8_. Image → Add Borders: 39 px - a light color that matches your tube.
9_. Still selected, apply Effects → Texture Effects → Texture: Canvas fine.
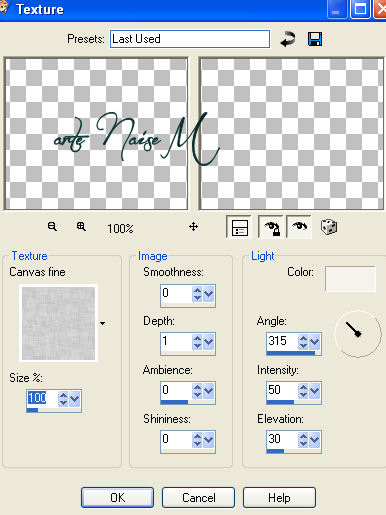
Effects → 3D Effects → Drop Shadow: 0 / 0 / 100 / 50.
Selections → Select None.
10_. Layers → Duplicate.
11_. Effects → Image Effects → Offset.
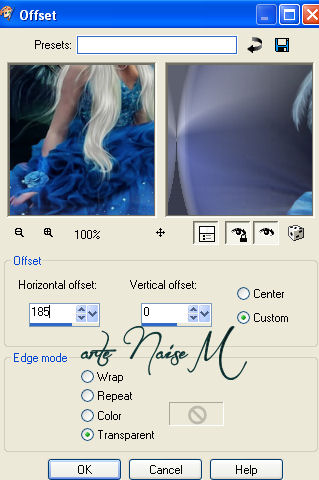
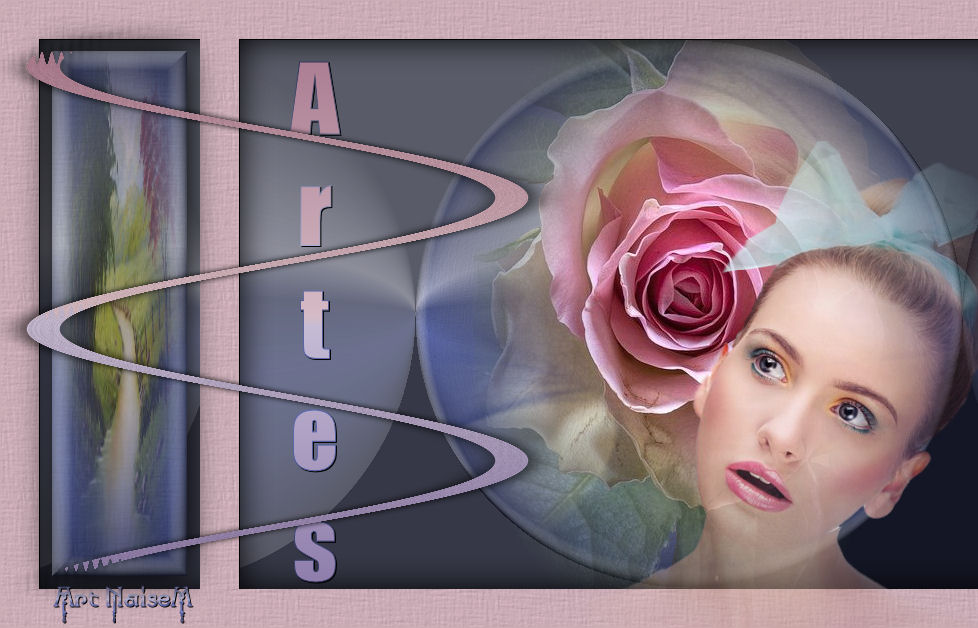
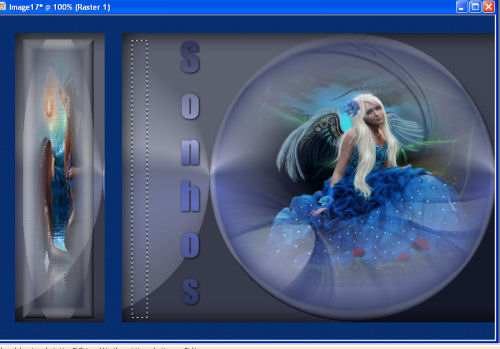
12_. Make a rectangular selection more or less like this:
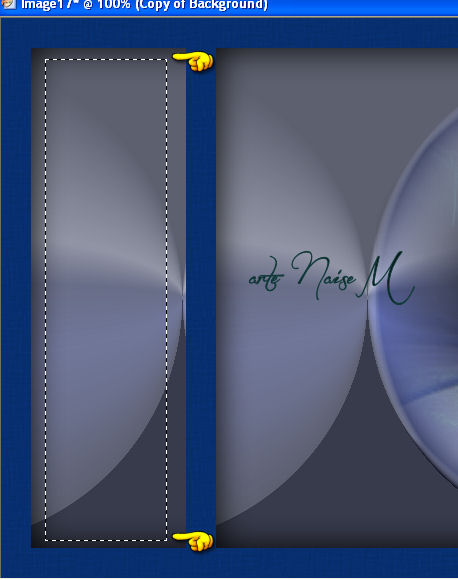
13_. On an image or a tube: Edit → Copy.
Edit → Paste Into Selection.
14_. Still selected, apply the same texture from step 9 and the Buttonize from step 5.
Selections → Select None.
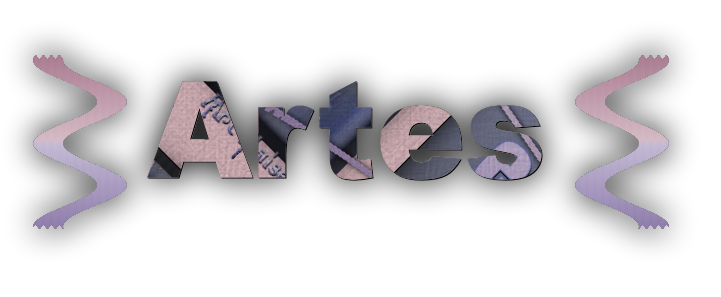
15_. Choose a font and write a name; in the Text tool, check Vertical and Left.
Effects → 3D Effects → Drop Shadow: 1 / 1 / 100 / 4.
16_. Layers → New Raster Layer.
17_. Make a rectangular selection next to it, as shown in the image.
Fill with the same gradient and apply the same texture.
Selections → Select None.
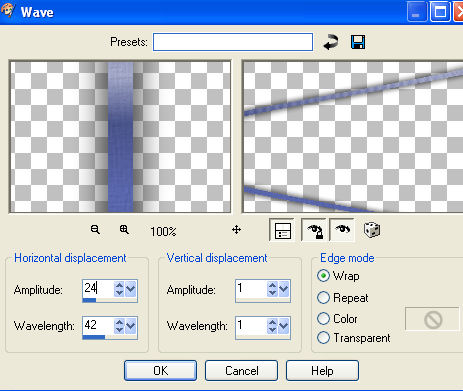
18_. Effects → Distortion Effects → Wave.
19_. Apply your tube.
20_. Sign your work and apply my watermark.
21_. Save as JPG.
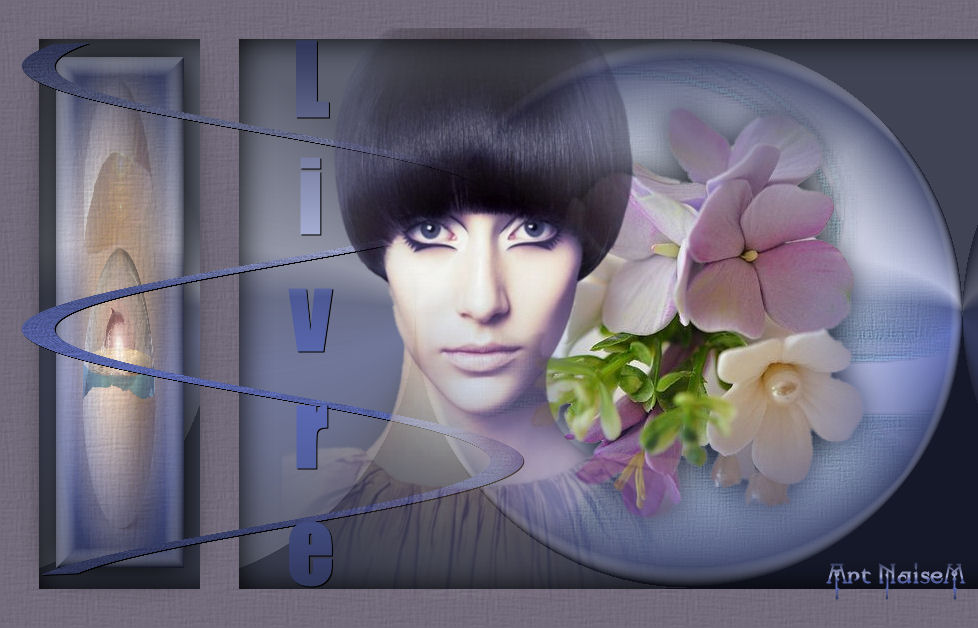
ANOTHER VERSION
Credits
Tutorial: Top Artes
Tubes and images of my own creation
16/11/2015