Selections
Watermark
 |
Use the arrow to mark your line
Click with the mouse to move it
|
1_. Choose two colors from your tube and create a Sunburst gradient, with the settings shown in the print.
You can also use a gradient from your gradients folder.
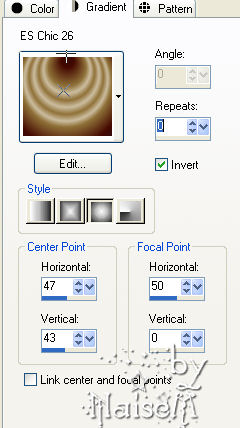
2_. Open a new image of 900 x 650 px and fill it with the gradient.
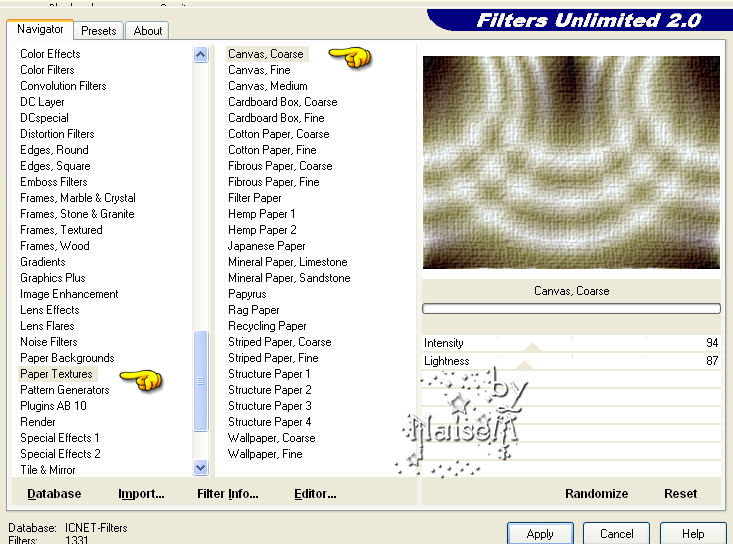
3_. Effects → Plugins → Filters Unlimited 2.0 → Paper Textures → Canvas, Coarse.
4_. Effects → Image Effects → Seamless Tiling: Default.
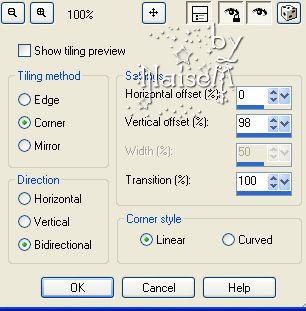
5_. Layers → New Raster Layer.
6_. Fill with a solid color.
7_. Apply the mask nminas_masks_132.
Layers → Merge → Merge Group.
Effects → User Defined Filter → Emboss 3.
8_. Image → Add Borders → Symmetric checked:
9 px - dark color
55 px - light color
9 px - dark color
9_. Layers → New Raster Layer.
10_. Choose a light color, if the previous one was dark, and fill.
11_. Apply the mask nminas_masks_118, Invert unchecked.
Layers → Merge → Merge Group.
Effects → User Defined Filter → Emboss 3.
12_. Effects → 3D Effects → Drop Shadow: 2 / 2 / 100 / 2.
13_. Choose an image: Edit → Copy.
14_. Selections → Load/Save Selection → Load Selection From Disk: nm-seleção-tira-teima-mj2.
Edit → Paste Into Selection.
15_. Selections → Promote Selection to Layer.
Selections → Select None.
16_. Selections → Load/Save Selection → Load Selection From Disk: nm-seleção-03.
17_. With the frames still selected, choose a JPG image.
18_. Layers → New Mask Layer → From Image and click OK.
19_. Edit → Copy on this image.
20_. Go back to your work: Edit → Paste Into Selection.
21_. Effects → 3D Effects → Chisel: Solid color - choose the color you want for your frames.
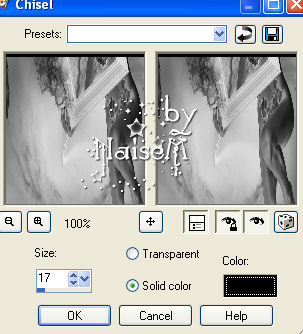
22_. If you wish, apply the Nik Software plugin on the frames still selected (optional).
23_. Selections → Select None.
24_. Apply your tubes.
25_. Apply my watermark.
26_. Sign your work.
27_. Save as JPG.
Credits
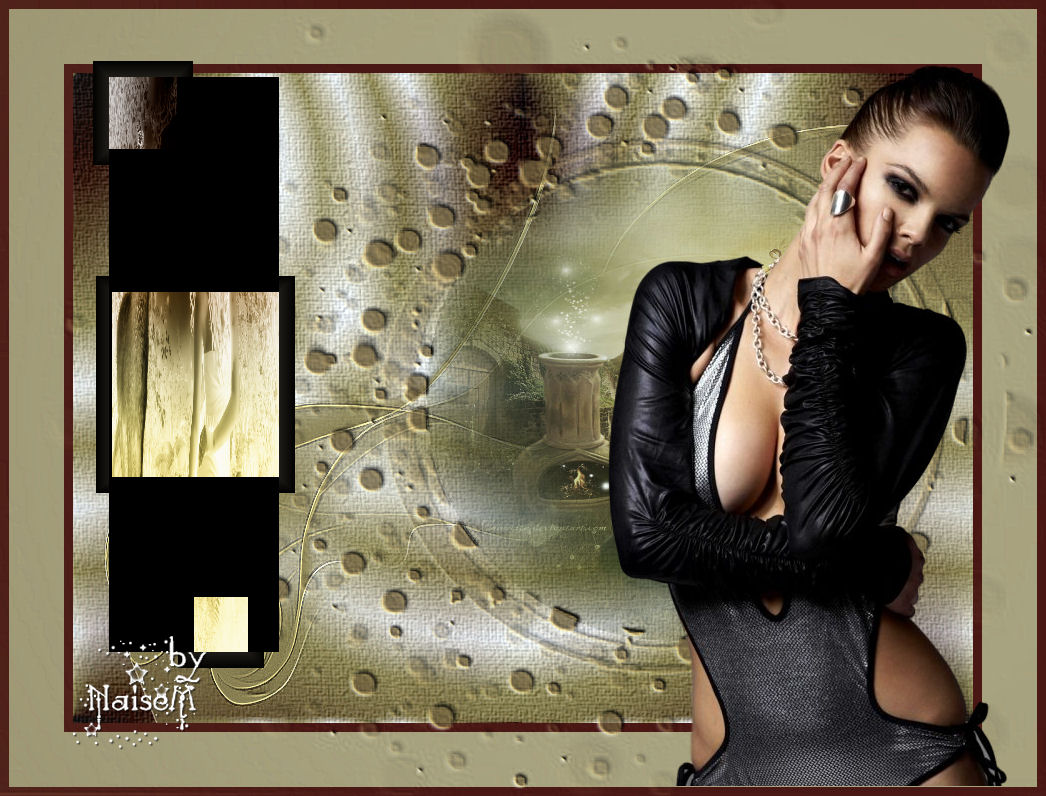
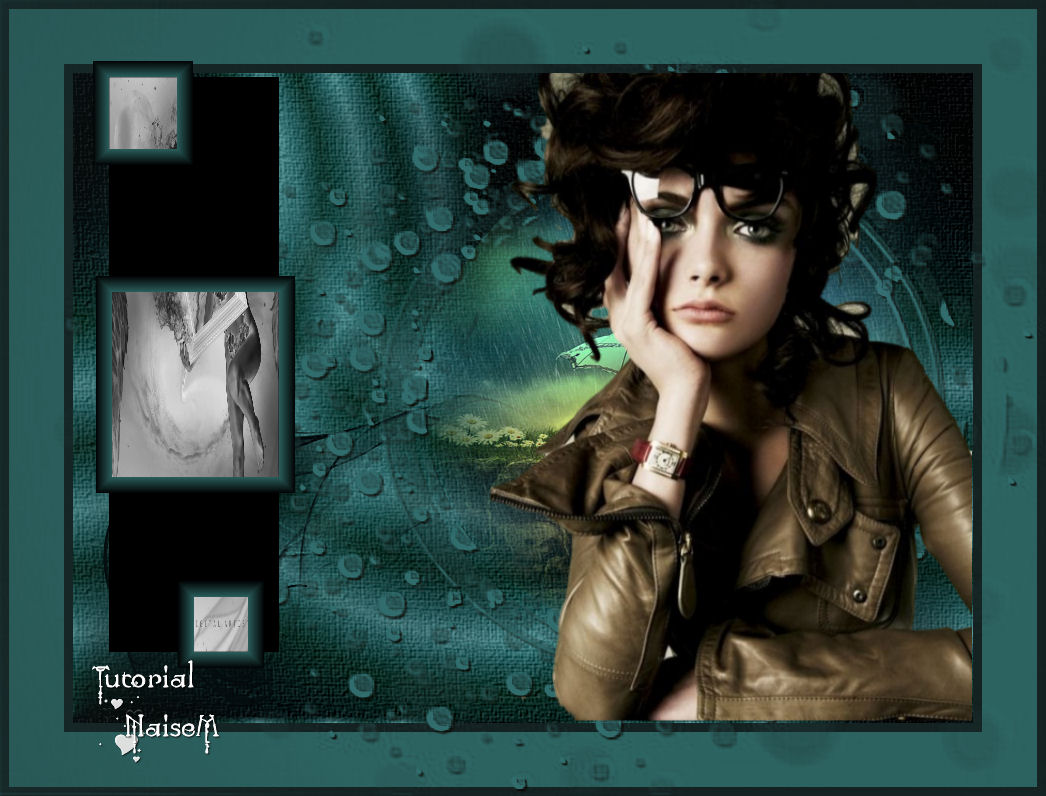
Creation, art and formatting: NaiseMinas
Tubes: NaiseMinas
Selection: NaiseMinas
Masks: NaiseMinas
07 - 09 - 2015