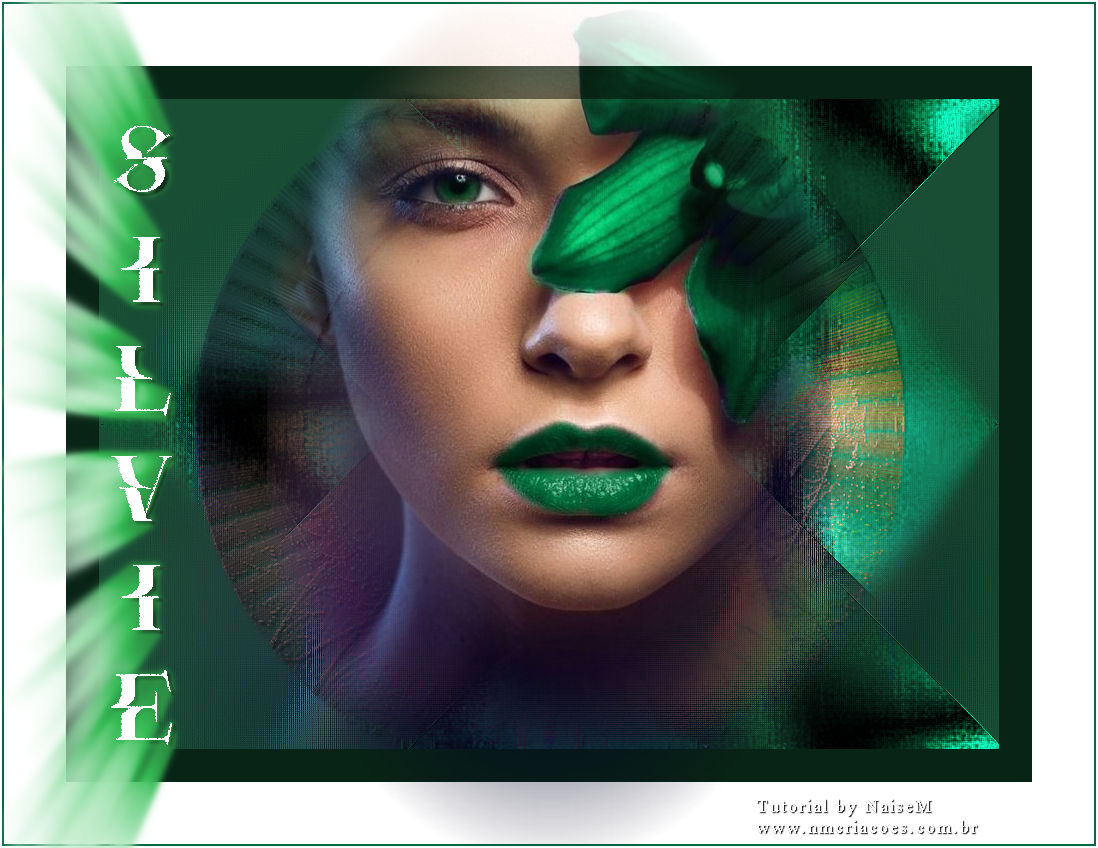
All tutorials are personal,
created by me
Any similarity is purely
coincidental.
This tutorial was created on the
original PSP 2020
Material
Misted: my authorship
Deco: my authorship
Selection: my own
Name: my authorship
Image acquired online
Mask EF_Mask83 - author name not
mentioned
Plugins
Topaz plugin
Unlimited Plugins 2.0
Preparation:
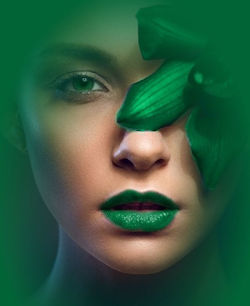
To create your background:
Open your misted face, add a new
layer and apply a solid color
chosen from the face and merge group
Running.....
Foreground #082416
Background #ffffff
3rd color #066841
1_.Open your image - Edit Copy
2_.File New - 950 x 650 Transparent
3_.Selections Select all
Edit Past Into/Selections - Select
Name
4_.Adjust Blur - Motion Blur
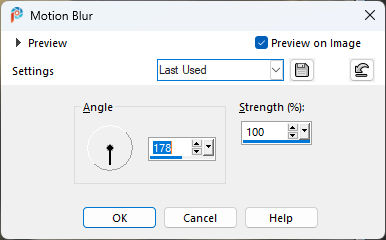
5_.Edit Repeat Motion Blur
6_.Effects Plug-in Topaz << Simply
3<<Painting Oil
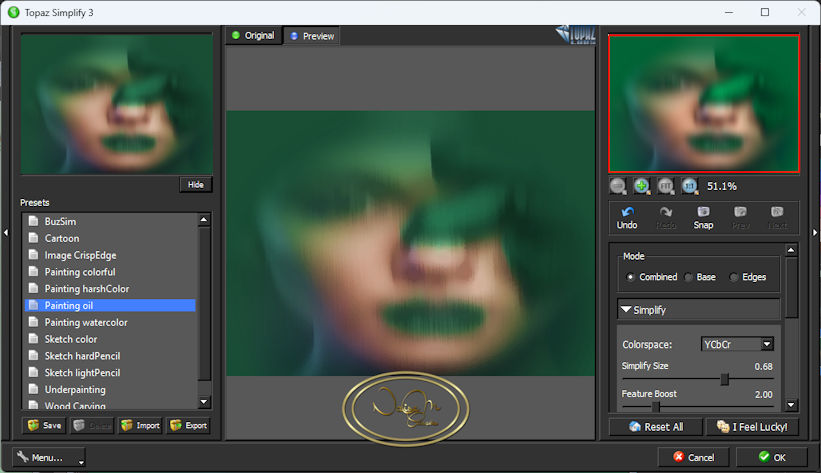
7_.Effects << Plugins Unlimited 2.0
FunHouse <<Loom
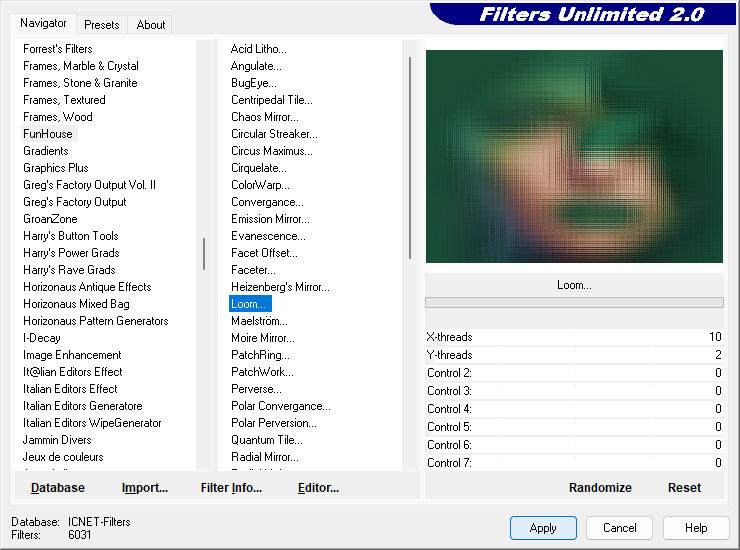
8_.Effects << Edge Enhance
09_.Layers << Duplicate
10_.Effects << Distortion Effects <<
Polar Coordinates
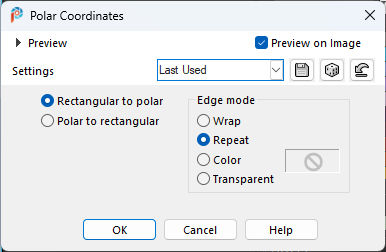
11_.Layers << Load/Save
Mask/Save Mask Fron Disk
Apply the mask EF_Mask_83 << Merge
Group
12_.Effects << 3D Drop Shadow
3/3/100/5.50
color #000000 (black)
13_.Duplicate
Blend Mod Hue
14_.Layer << Merge Down
15_.Open your Deco_Silvie <<
Colorize it to your liking
Edit Copy << Edit Past As New Layer
Blend Mode Hard Light
16_.Click on Raster 1
17_.Open your misted Face << Edit
Copy
In your work Edit Past As New layer
18_.Layer Arrange Bring to Top
DECREASE IF YOU FIND THE NEED
Double if necessary
20_.Click on your Deco_Silvie Layer
Effects << Seamlles Tilling <<
Defaut
21_.Image Add Border - Symmetric
Marked
Size 33 Foreground color #082416
Size 62 background color #ffffff
Size 2 color 3°#066841
Size 2 color #ffffff
22_.Open the name Silvie << Edit
Copy Colorize to taste
Past As New Layer
23_.With the Pic Tool
X:4 and Y:-6
24_.Edit Copy again on Misted Face
Edit Past As New Layer
Don't move the place
25_.Sign
26_.Exports in JPG
23-05-2024