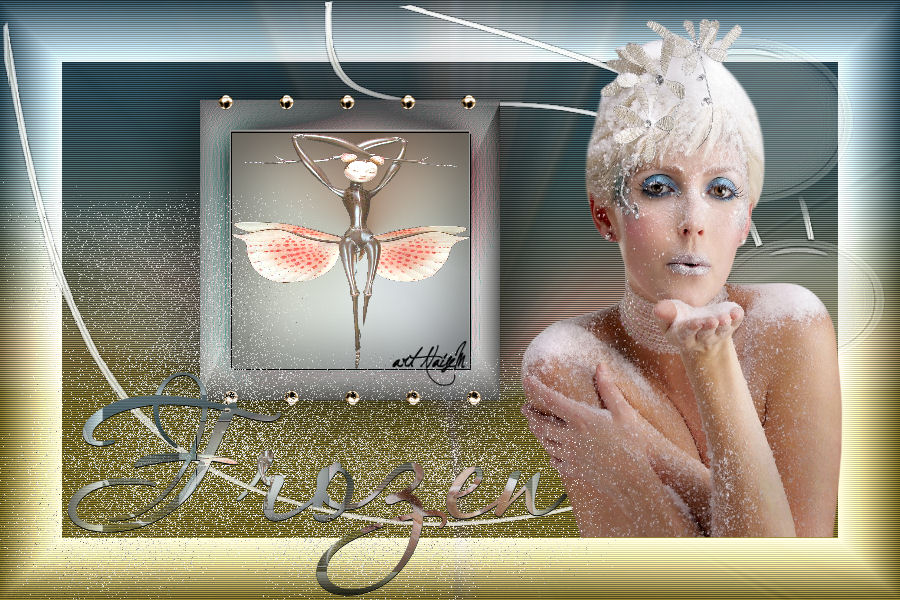
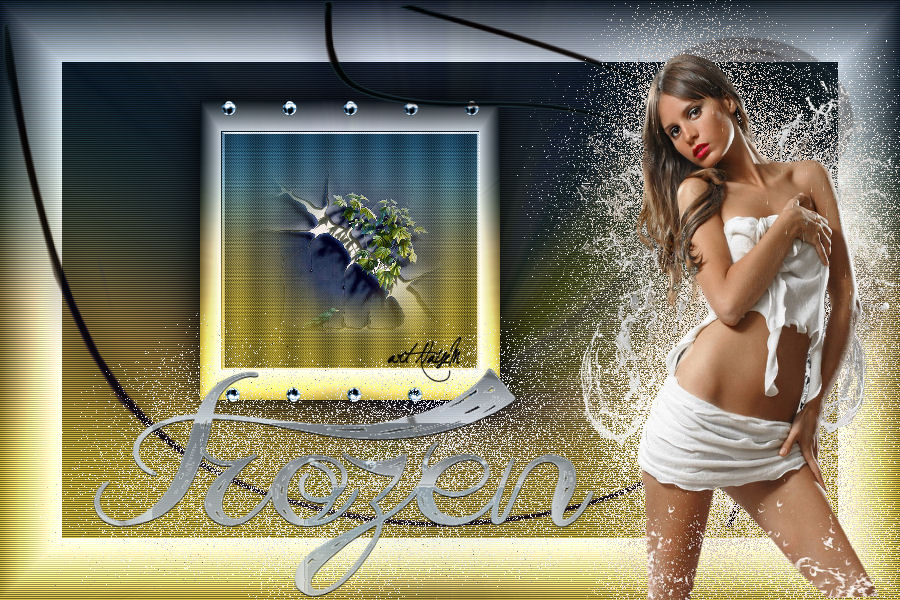
Frozen
Tutorial elaborado no PSP.
Todos os tutoriais são pessoais.
Qualquer semelhança é mera coincidência. |
MATERIAL

Tube ou misted (tube usado: k@rine_dreams Iced_Women_821)
Gradiente
Mask: nminas_masks_frozen (NaiseM)
Decor: deco-frozen
PLUGINS
Filters Unlimited 2.0 → Kohan's Filters → Autointerlace v1.0
Filters Unlimited 2.0 → Buttons & Frames → Glass Frame 3
 |
Use a seta para marcar a sua linha
Clique no mouse para movê-la
|
Roteiro
1_. Escolha um tube ou um misted.
2_. Retire uma cor escura para o foreground e uma cor clara para o background.
3_. Faça um gradiente Linear: Angle 0 / Repeats 1.
4_. No tube ou misted: Layers → Merge → Merge All.
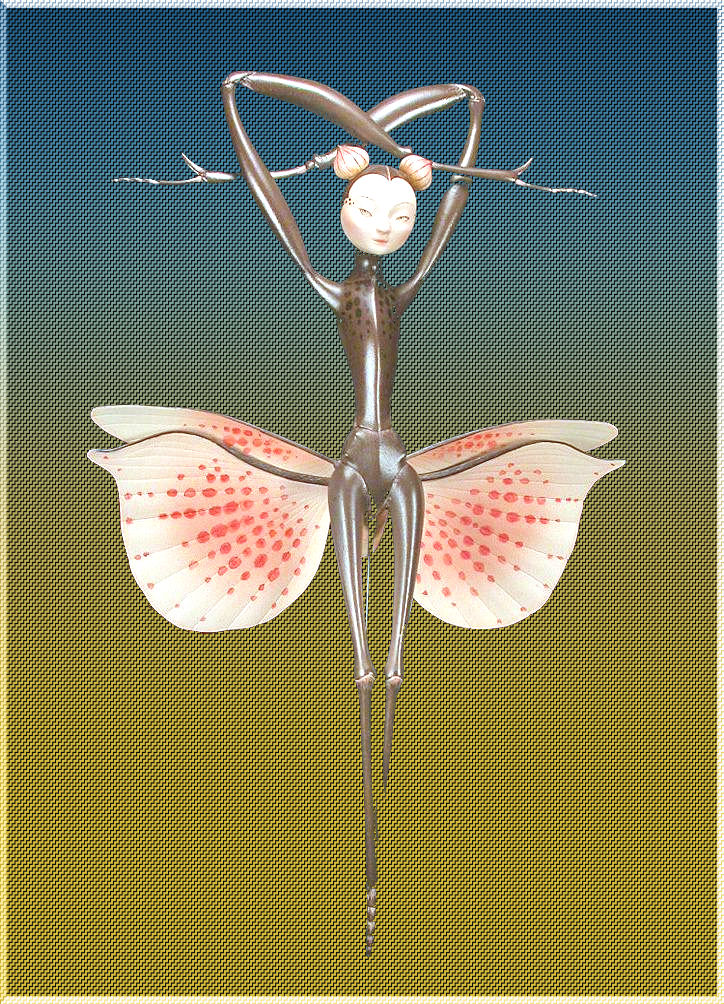
5_. Edit → Copy e Edit → Paste Into Selection em uma imagem transparente de 900 x 600 px.
Selections → Select None.
6_. Adjust → Blur → Radial Blur.
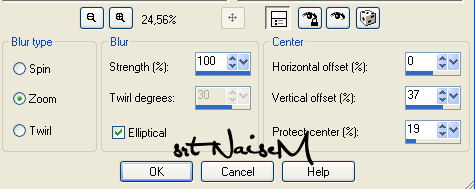
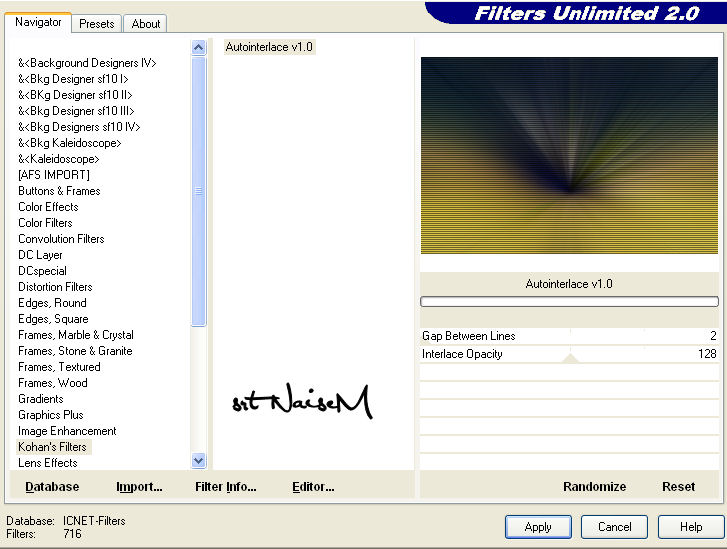
7_. Effects → Plugins → Filters Unlimited 2.0 → Kohan's Filters → Autointerlace v1.0: Gap Between Lines 2 / Interlace Opacity 128.
Importe o filtro pelo Filters Unlimited 2.0.
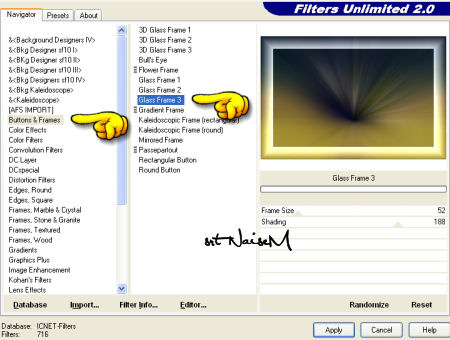
8_. Effects → Plugins → Filters Unlimited 2.0 → Buttons & Frames → Glass Frame 3.
9_. Edit → Copy.
10_. Layers → New Raster Layer.
11_. Selection Tool → Custom Selection:
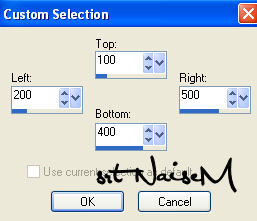
12_. Edit → Paste Into Selection.
13_. Effects → 3D Effects → Drop Shadow: 0 / 0 / 100 / 50.
Selections → Select None.
14_. Layers → New Raster Layer.
Escolha uma cor sólida e pinte a layer.
15_. Layers → Load/Save Mask → Load Mask From Disk: nminas_masks_frozen.
Layers → Merge → Merge Group.
16_. Se quiser, Layers → Properties → Blend Mode: Difference.
Aplique o mesmo Drop Shadow.
17_. Aplique o decor a seu gosto.
Layers → Merge → Merge Visible.
18_. Edit → Copy no seu trabalho.
19_. Layers → New Raster Layer.
20_. Escreva o nome da tag com qualquer fonte, com Create as: Floating marcado.

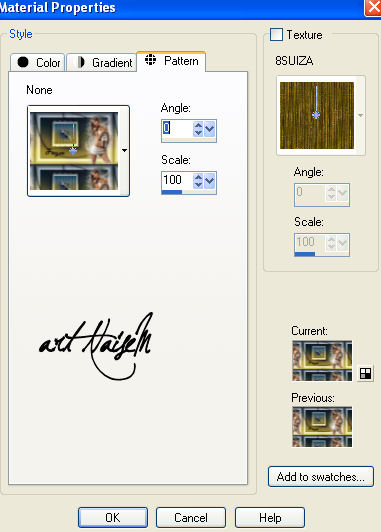
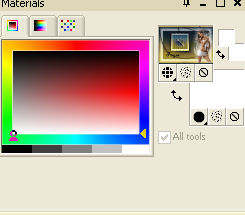
21_. Em Material Properties, abra a aba Pattern (o trabalho copiado) e aplique com a ferramenta Flood Fill (baldinho) nas partes selecionadas.
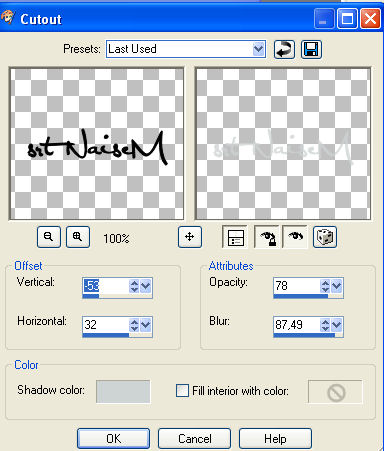
22_. Effects → 3D Effects → Cutout.
Selections → Select None.
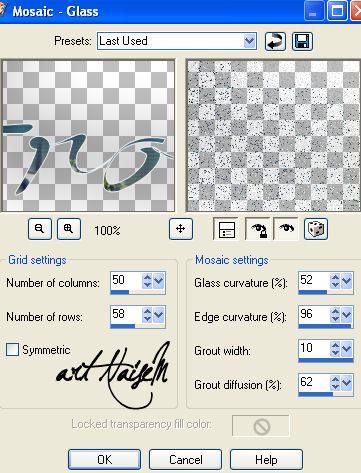
23_. Duplique o texto, clique na layer Raster e aplique Effects → Texture Effects → Mosaic - Glass.
Aplique um Colorize para ficar mais branquinho (opcional).
OUTRO MODELO
Créditos:
Tutorial, arte e formatação: NaiseM
Mask: NaiseM
Outro modelo: tube Ana Ridzi; imagem adquirida na net
Tutorial criado por Naise Minas - NM Criações
em 04/04/2016.
Copyright ©2012/2026 - Web Design - Naise Minas