|
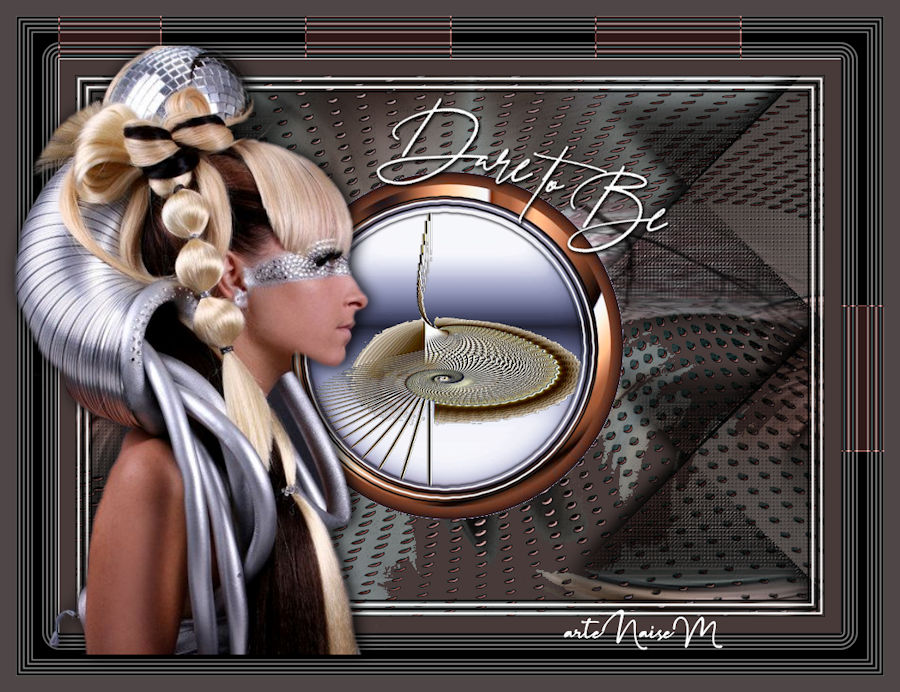
Dare to Be (Ouse)
MATERIAL
Tube: Naise Minas
PLUGINS Mehdi → Sorting Tiles
Roteiro 1_. Abra o alpha_deco_to_be (Alpha Channel). Selections → Select All. 2_. Abra a sua imagem: Edit → Copy. Volte ao seu trabalho: Edit → Paste Into Selection. Selections → Select None. 3_. Adjust → Blur → Radial Blur, nas configurações abaixo.
4_. Ferramenta Warp Brush, nas configurações abaixo.
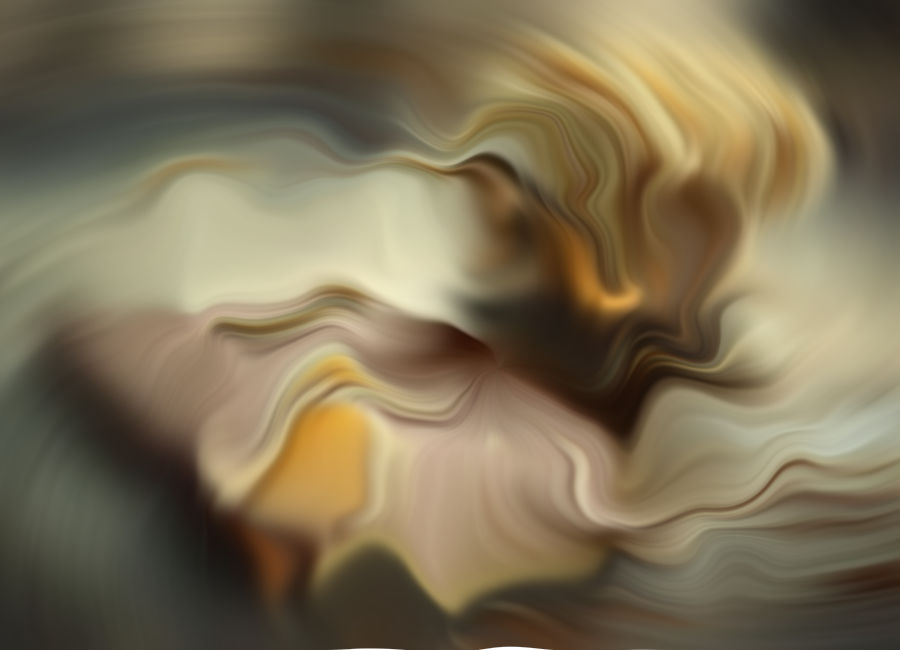
Passe na sua imagem a seu gosto. Resultado da minha:
5_. Effects → User Defined Filter → Emboss 3. 6_. Layers → New Raster Layer. Pinte com uma cor sólida a seu gosto (a minha: #707865). Aplique a mask Narah_mask_0183. Layers → Merge → Merge Group. Layers → Duplicate. Image → Mirror → Mirror Vertical. Image → Mirror → Mirror Horizontal. Layers → Merge → Merge Down. Effects → 3D Effects → Drop Shadow: 1 / 1 / 100 / 2,00. Effects → User Defined Filter → Emboss 3. Layers → Properties → Blend Mode: Difference. 7_. Layers → New Raster Layer. Selections → Load/Save Selection → Load Selection From Alpha Channel: #seleçãoalpha 1. 8_. Aplique o seu misted na seleção (Edit → Paste Into Selection). Selections → Select None. Layers → Merge → Merge Visible. 9_. Selections → Select All. Effects → Plugins → Alien Skin Eye Candy 5: Impact → Gradient Glow: preset preset_daretobe. Selections → Select None. 10_. Layers → New Raster Layer. Pinte com uma cor sólida (a minha: #2b201b). Aplique a mask Narah_mask_0801. Layers → Merge → Merge Group. Duplique 3 vezes e aplique Layers → Merge → Merge Down 3 vezes. Effects → User Defined Filter → Emboss 3. Effects → 3D Effects → Drop Shadow: 3 / 4 / 100 / 5,80, positivo e negativo. Layers → Properties → Blend Mode: Multiply. 11_. Abra o deco_nm_daretobe1: Edit → Copy. Volte ao seu trabalho: Edit → Paste As New Layer. Se quiser mudar a cor, use o Nik Color Efex Pro 3.0. Selections → Load/Save Selection → Load Selection From Alpha Channel: #seleção 2. Effects → Plugins → Alien Skin Eye Candy 5: Impact → Gradient Glow: preset preset_daretobe. 12_. Abra o deco_nm_daretobe2: Edit → Copy. Edit → Paste Into Selection (seleção alpha 2). Selections → Select None. 13_. Image → Add Borders → Symmetric marcado: 19 px 52 px 19 px Com a ferramenta Magic Wand, selecione a borda de 52 px. Selections → Promote Selection to Layer. Selections → Select None. Effects → Plugins → Mehdi → Sorting Tiles.
Selecione as duas barras de 19 px e aplique o preset_daretobe do Eye Candy 5: Impact → Gradient Glow. Layers → Properties → Blend Mode: Difference. Layers → Merge → Merge Down. 14_. Aplique o seu texto. 15_. Aplique o seu tube. 16_. Assine. 17_. Image → Resize: 900 px.
OUTRO MODELO
Créditos: Tutorial criado por Naise Minas - NM Criações Copyright ©2012/2026 - Web Design - Naise Minas |