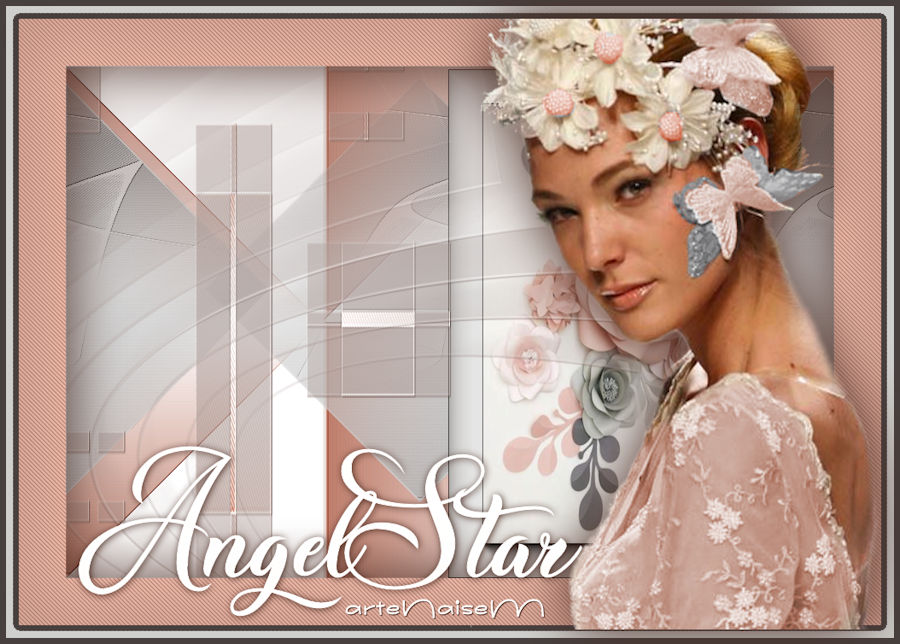
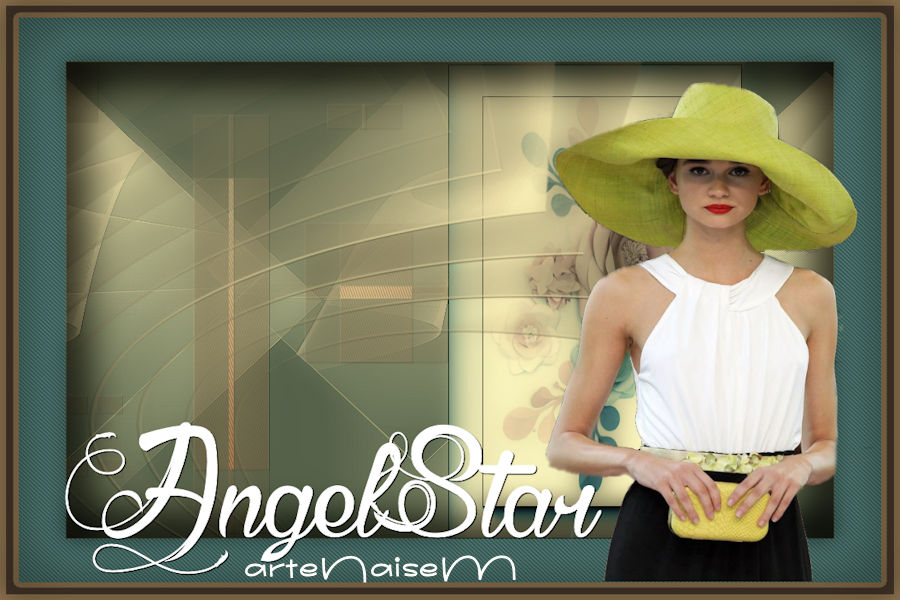
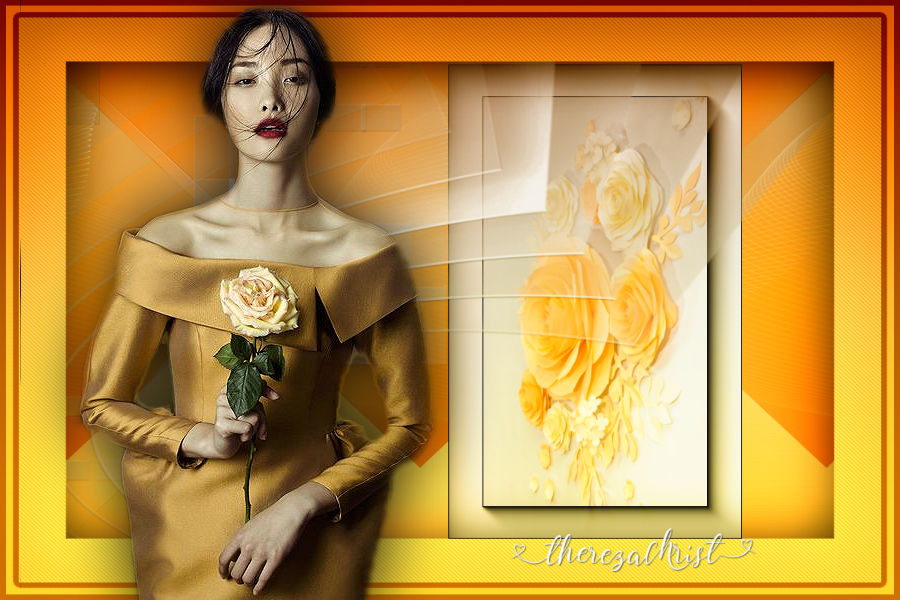
A treat for Angel Star Materials Tube Image Mask Narah (thanks) Preset Sinedotsll AngelStar (save in the preset folder of the plug-in DragonFly-sinedots11) Alpha Channel selection
Plug-ins Plug-in Unlimited 2.0 Bkg Kaleidoscope Plug-ins Carolaine and Sensibility DragonFly Sinedots II Plug-ins AAA Frames Toadies
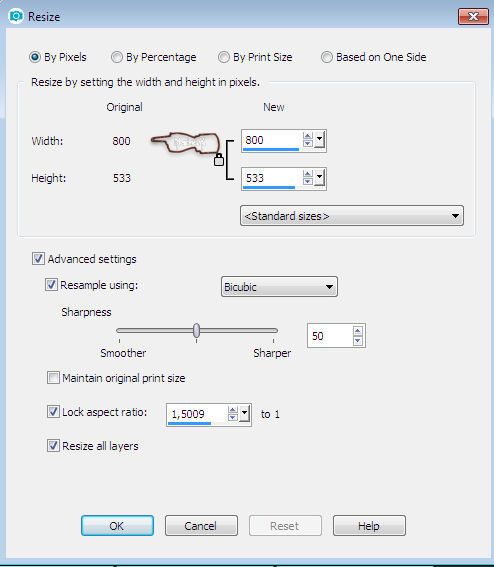
NOTE: Resize the image (Width greater than Height) It must be rectangular
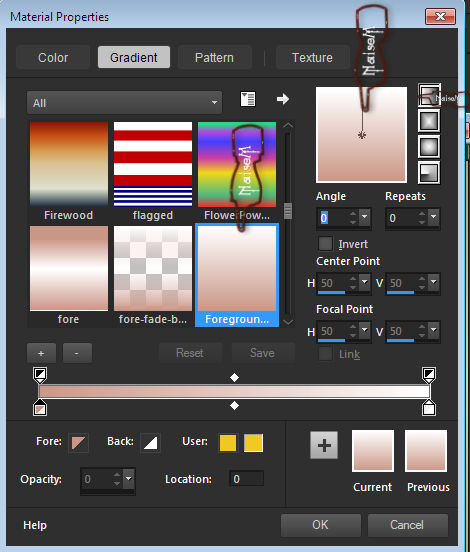
Walkthrough 1_. Open your image, choose two colors and create a Linear gradient.
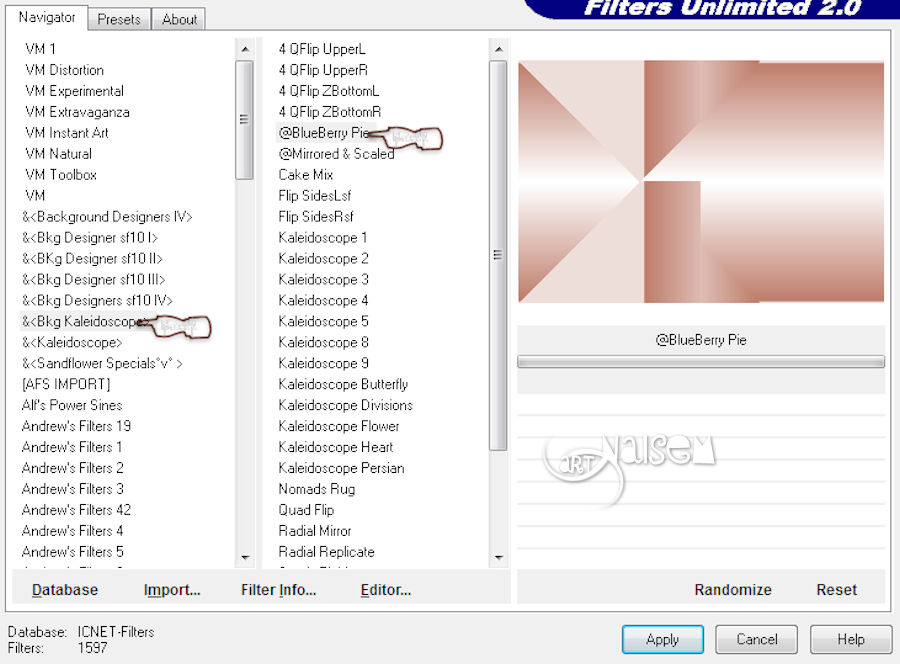
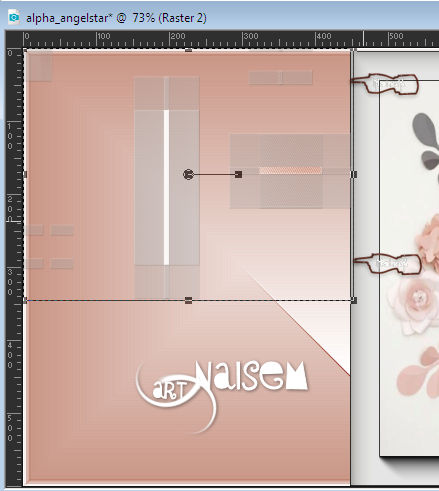
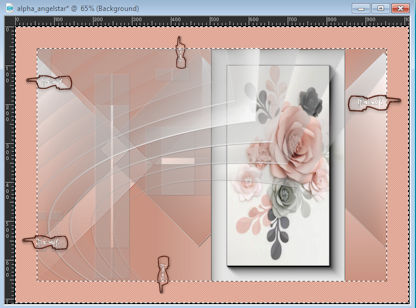
2_. Open the alpha_angelstar and fill it with this gradient. 3_. Effects → Plugins → Filters Unlimited 2.0 → &<Bkg Kaleidoscope> → @BlueBerry Pie.
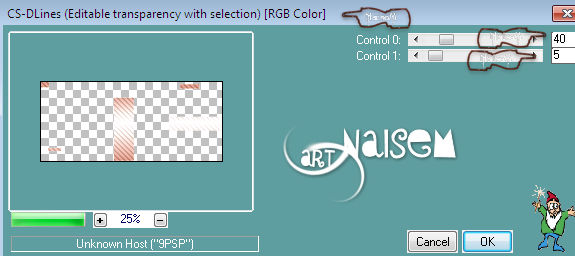
Effects → Edge Effects → Enhance More. 4_. Selections → Load/Save Selection → Load Selection From Alpha Channel: Selection #1. Layers → New Raster Layer. 5_. Open your rectangular image: Edit → Copy. Go back to the selected part of your work: Edit → Paste Into Selection. Effects → Plugins → AAA Frames → Foto Frame: Width 40; click OK. Selections → Select None. 6_. Selections → Load/Save Selection → Load Selection From Alpha Channel: Selection #2. Layers → New Raster Layer. Fill the selection with the same gradient as in step 1. Effects → Plugins → Carolaine and Sensibility → CS-DLines.
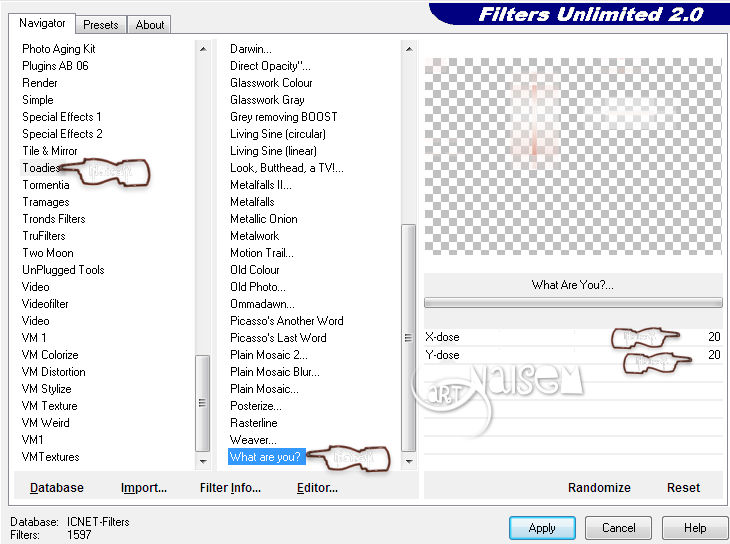
Selections → Select None. Effects → User Defined Filter → Emboss 3. Effects → Plugins → Filters Unlimited 2.0 → Toadies.
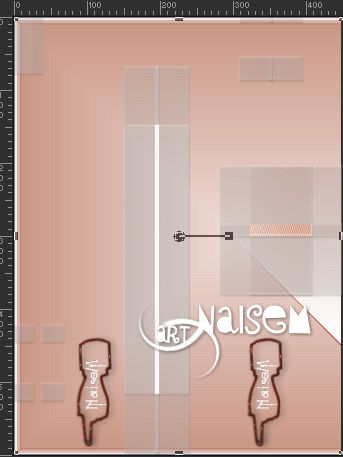
Effects → 3D Effects → Drop Shadow: 1 / 1 / 56 / 1,00. With the Pick tool, bring the image on the right to the left
and bring it all the way to the end.
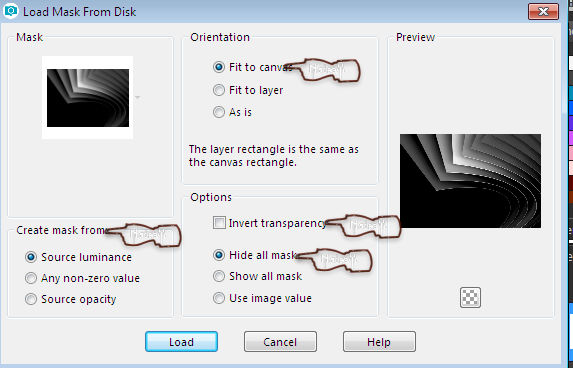
7_. Layers → New Raster Layer. Fill with the color #FFFFFF. Apply the mask NarahMask_0435.
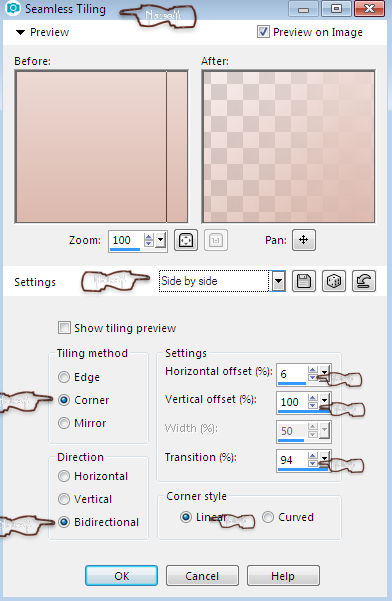
Layers → Merge → Merge Group. Effects → 3D Effects → Drop Shadow: 1 / 1 / 56 / 1,00. Image → Mirror → Mirror Horizontal. 8_. Select the Merged layer. Selections → Load/Save Selection → Load Selection From Alpha Channel: Selection #3. Layers → New Raster Layer. Fill with the same gradient as in step 1. Apply the AngelStar preset of Sinedots II. Selections → Select None. Effects → Image Effects → Seamless Tiling: Side by side.
9_. Image → Add Borders → Symmetric checked: 55 px. First apply a contrasting color and then, with the Magic Wand tool, select the border.
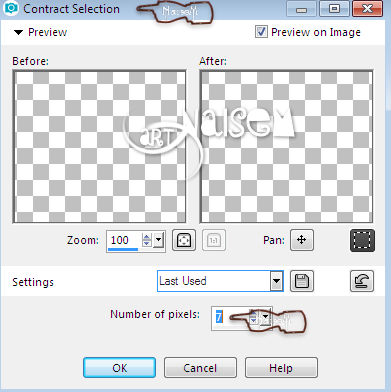
On the selected part, apply the color #dcab9c. Apply the Carolaine and Sensibility → CS-DLines plugin again, with the same settings. Effects → 3D Effects → Drop Shadow: 0 / 0 / 100 / 100,00. Selections → Select None. 10_. Image → Add Borders → Symmetric checked: 22 px - color #4d423e. With the Magic Wand tool, select the border. Selections → Modify → Contract.
Apply the color #d1d2cd. Effects → 3D Effects → Drop Shadow: 0 / 0 / 100 / 100,00. Selections → Select None. 11_. Apply the Nik Software 3.0 plugin. Image → Resize: 900 x 600 px. Apply your tube. 12_. Sign your work. 13_. Save as JPG.
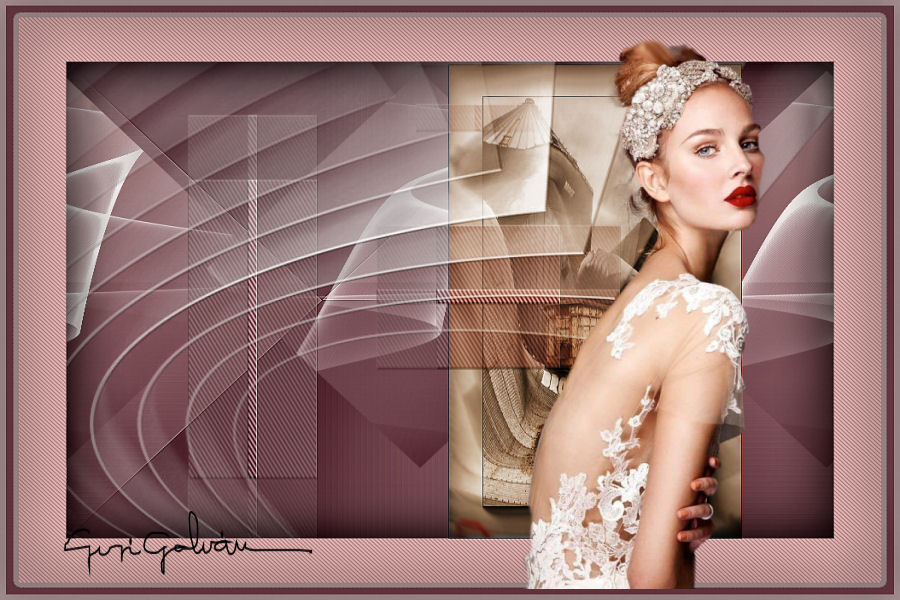
ANOTHER MODEL
Readings
04/01/2019
|