All tutorials are
personal, created by me.
Any similarity is purely
coincidental.
Guidance...
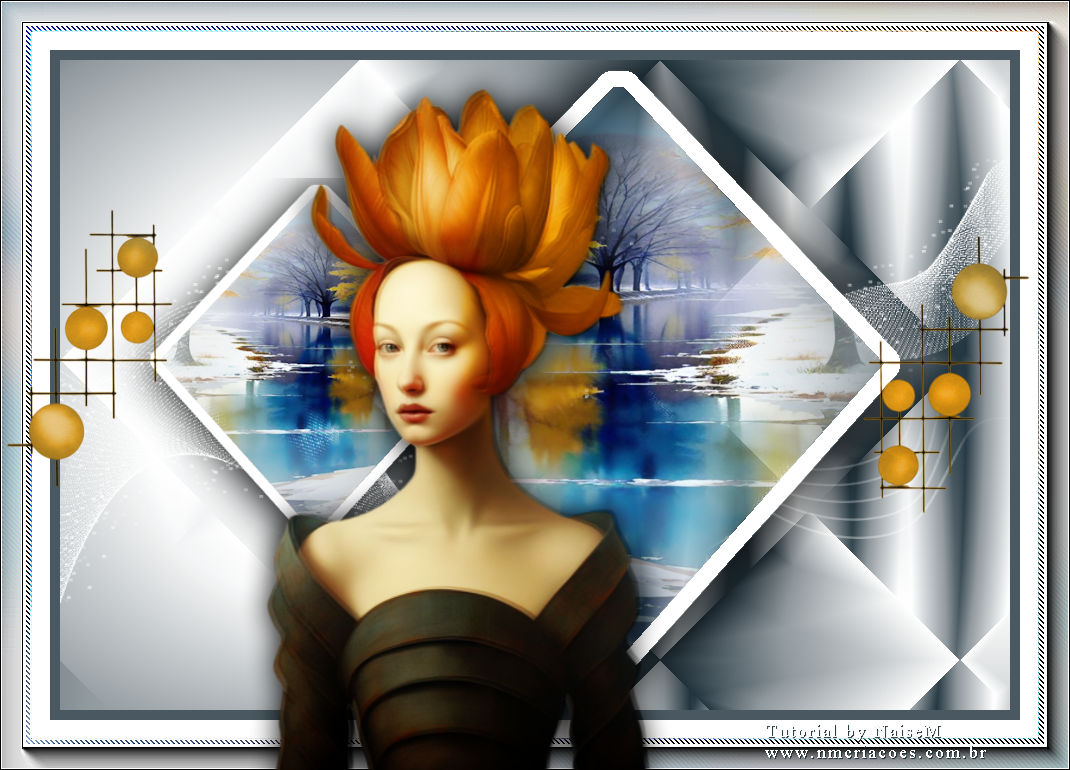
I took an image and mixed it.
Later we will use this image
Colors:
foreground #243640-background-#fdfefe
3°cor #e1b14f
To execute....
1_.Go to > File New
Open a transparent 950 x 650
2_.Form a Sumburst gradient as shown
in the print
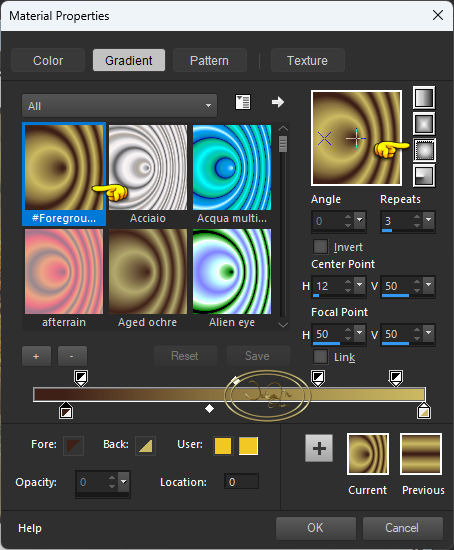
3_.The Food fill tool applies
this gradient
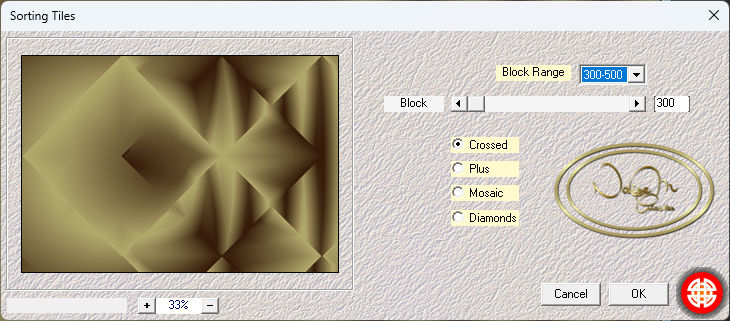
4_.Effects_Plugins_Mehdi_Sorting
Tile as shown in the screenshot
below
5_.Layers New Raster layer
Selections>Load/Save Selections/Load
selections From Disck
applies the selection - #selecao_Sweet
6_.Open your misted > Edit Copy
and Past Into in the selection
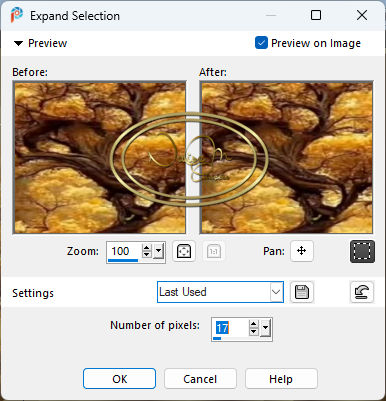
7_.Still selected
Selections> Modify> Expand Selection
as shown in print
below
8_.Layer New Raster Layer
Apply the color #ffffff
9_.Click on Raster 2
Layer Arrange Bring To top
Selections Select Name
Layer Merge Down
10_.Layers- Duplicates - Image
Rezise 60%
11_.Image Mirror> Horizontal
With the Pic Tool X:51.00 and
Y:118.00
Layer Merge Down
12_.Click on Raster 1
13_.Layers> New Raster Layer
14-.Applies the color #ffffff *white*
15_.Layers> Mask/Load Save Mask/
Load Mask From Disck
Apply #masknaisem
Layers>Merge Group
16_.With the Pic Tool X:0.00 and Y:
93.00
17_.Effects 3D cutout

18_.User Defined Filter Emboss 3
19_.Click on the Eraser Tool and
clean the part of this mask that
passes over the frames
20_.Image Add border > Symmetric
checked
Size 10 > color #485661
21_.Image add border 50 color white
Selections Select all
22_.Selections Select Modify -
Select Selections Borders

23_.Open your image - Edit Copy
and past into
24_.Adjust Blur - Gaussian Radius
29.00
25_.Selections Promoter To layers
Selections Select name
26_.Effects - Carolaine & Sensibilit
Plug-ins - CS DLines

27_. Effects Plug-ins AAA Foto Frame

Effects - Edge Enhance More
28_.Open tube_deco-naisem - Edit
Copy
Edit Past As New Layer
With the Pic tool - X:863 Y:235
29_.Duplicate
Image Mirror Horizontal
With the Pic tool - X:6 Y:209
Layer Merge Down
30_.Apply your tube on the right
side
31_.Sign and save as JPG
03-05-20224