|
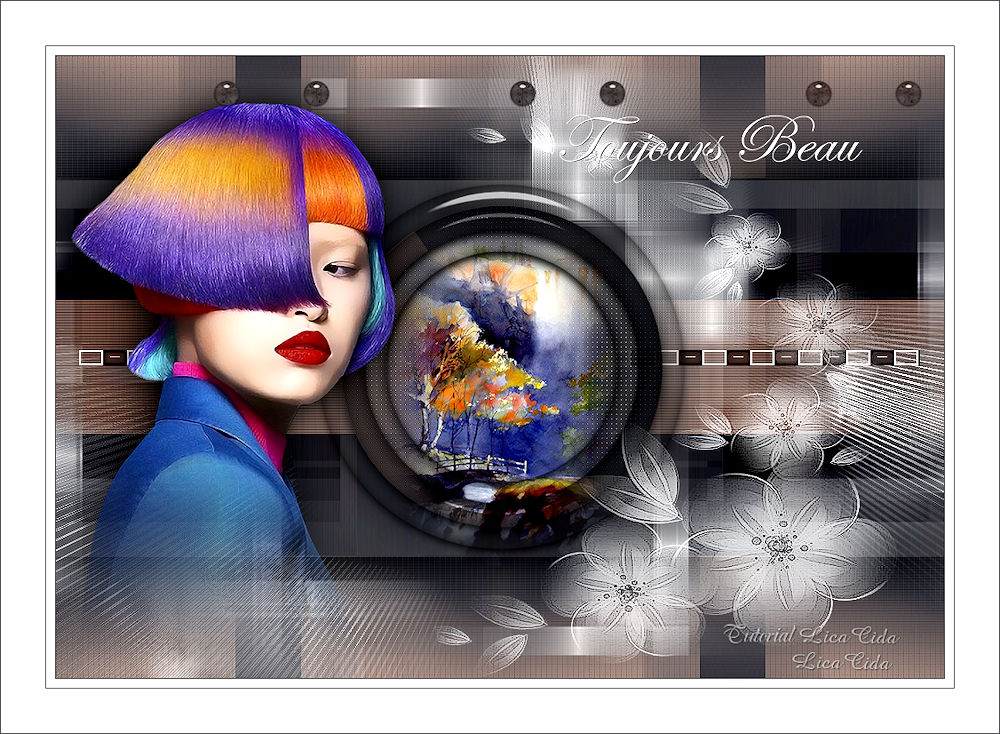
Toujours Beau TRADUÇÕES
MATERIAL
Imagem: alphachanneltoujours beau --
Tubes: Buste-femme-jewel-0055
Masks: flores
Decos: deconicole
Elementos: elemento 1
Texto: texto toujours beau _lc
Marca-d'água.
Versão usada: PSP X9.
PLUGINS
Plugin Mehdi → Wavy Lab 1.1
TUTORIAL
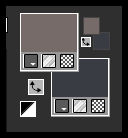
Configure: Foreground: #776b69 — Background: #3b3d45.
1_. Abra o arquivo alphachanneltoujours beau. 2_. Plugin Mehdi → Wavy Lab 1.1: #3b3d45 / #776b69 / #595457 / #595457.
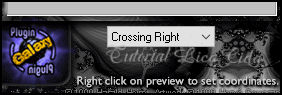
Adjust → Blur → Gaussian Blur — Radius: 42,00. 3_. Plugin Galaxy → Instant Mirror.
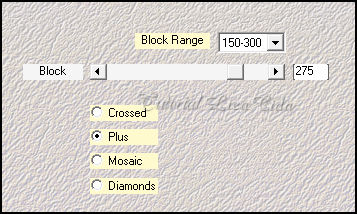
4_. Plugin Mehdi → Sorting Tiles.
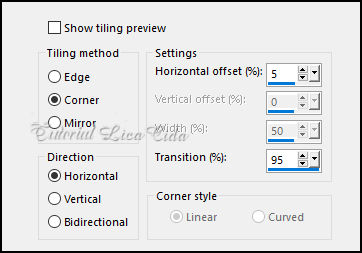
5_. Plugin Simple → Top Left Mirror. 6_. Effects → Image Effects → Seamless Tiling.
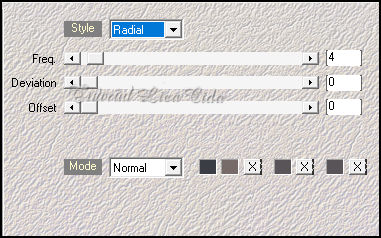
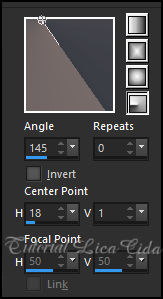
7_. Effects → Reflection Effects → Rotating Mirror — Default. 8_. Plugin Andrew's Filters 51 → Straight Lines 234 — Default. Adjust → Sharpness → Sharpen. 9_. Selections → Load/Save Selection → Load Selection From Alpha Channel → Selection #1. Selections → Promote Selection to Layer. Selections → Select None. Effects → 3D Effects → Drop Shadow: 0 / 0 / 100 / 100,00 — Color: #000000. 10_. Selections → Load/Save Selection → Load Selection From Alpha Channel → Selection #2. 11_. Layers → New Raster Layer. Pinte com o gradiente Radial formado pelas cores configuradas acima.
Adjust → Blur → Gaussian Blur — Radius: 42,00. 12_. Plugin Carolaine and Sensibility → CS-LDots.
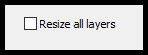
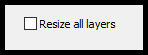
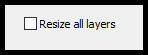
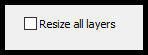
Effects → Edge Effects → Enhance. Mantenha a seleção. 13_. Edit → Copy no tube Paysage-misted-jewel-025 Edit → Paste As New Layer. Image → Resize: 80% — Resize all layers desmarcado.
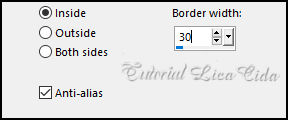
Aplique duas vezes. Adjust → Sharpness → Sharpen. Layers → Merge → Merge Down. 14_. Selections → Modify → Select Selection Borders.
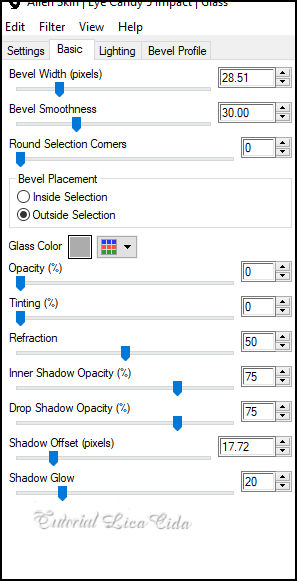
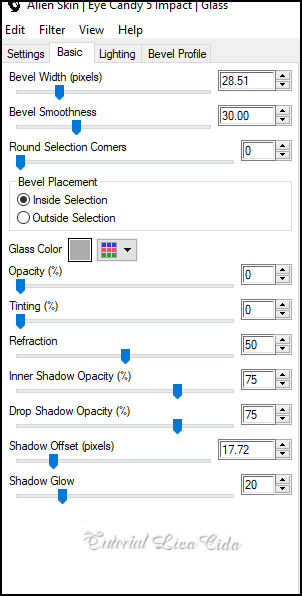
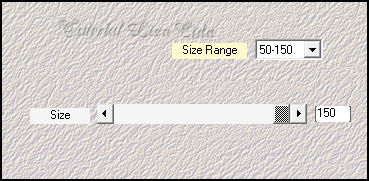
15_. Layers → New Raster Layer. Pinte com o gradiente formado no item 11. 16_. Plugin Alien Skin Eye Candy 5: Impact → Glass — Settings: Clear. Basic: use as configurações abaixo e marque Outside Selection.
17_. Plugin Alien Skin Eye Candy 5: Impact → Glass — Settings: Clear. Basic: use as configurações abaixo e marque Inside Selection.
Blend Mode: Multiply — Opacity: 89%. Layers → Merge → Merge Down. Selections → Select None. Image → Resize: 90% — Resize all layers desmarcado.
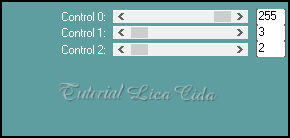
Effects → 3D Effects → Drop Shadow: 0 / 0 / 80 / 40,00 — Color: #000000. 18_. Edit → Copy no elemento 1 Edit → Paste As New Layer. Plugin Mehdi → Weaver.
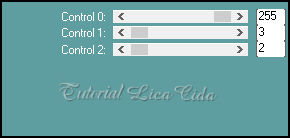
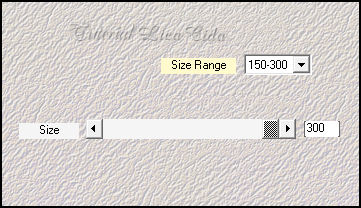
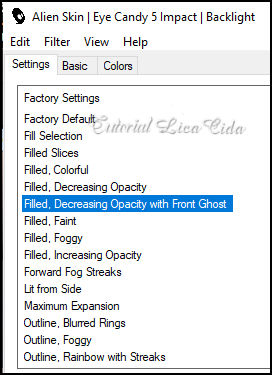
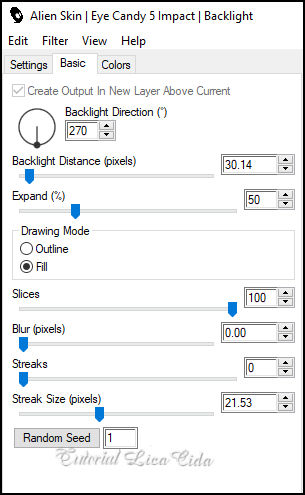
Layers → Duplicate. Image → Mirror → Mirror Horizontal. Image → Mirror → Mirror Vertical. Layers → Merge → Merge Down. Layers → Arrange → Move Down. 19_. Edit → Copy no elemento2 Edit → Paste As New Layer. 20_. Plugin Alien Skin Eye Candy 5: Impact → Backlight (use o Settings indicado). Basic: use as configurações originais.
Plugin Mehdi → Weaver.
21_. Plugin Andrew's Filters 51 → Straight Lines 234 — Default. 22_. Plugin Carolaine and Sensibility → CS-LDots.
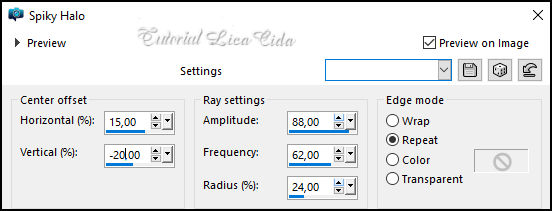
Layers → Duplicate. 23_. Effects → Distortion Effects → Spiky Halo.
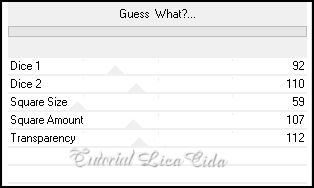
Opacity: 80%. Effects → Edge Effects → Enhance. Layers → Merge → Merge Down. 24_. Selections → Load/Save Selection → Load Selection From Alpha Channel → Selection #3. 25_. Layers → New Raster Layer. Pinte com o gradiente formado no item 11. Adjust → Blur → Gaussian Blur — Radius: 42,00. 26_. Plugin VM Experimental → Guess What? — altere Transparency para 112.
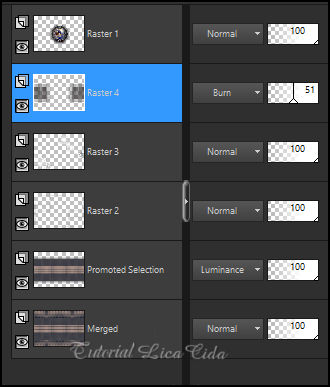
Selections → Select None. 27_. Plugin Toadies → What Are You?: 20 / 20. Effects → Reflection Effects → Rotating Mirror: 0 / 180 — Reflect. Effects → Distortion Effects → Pinch — Strength: 100%. Blend Mode: Burn — Opacity: 51%. Organize as layers como no print:
28_. Ainda na Raster 4: Edit → Copy no deconicole Edit → Paste As New Layer. Já está posicionada. 29_. Ative a Raster 1 (layer do topo). Edit → Copy no tube Buste-femme-jewel-0055 Edit → Paste As New Layer. Image → Mirror → Mirror Horizontal. Image → Resize: 80% — Resize all layers desmarcado.
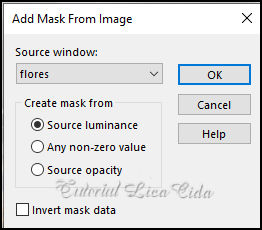
Adjust → Sharpness → Sharpen. Layers → New Mask Layer → From Image: !!!!.mask.ket01. Layers → Merge → Merge Group. Posicione a gosto. 30_. Layers → New Raster Layer. Com a ferramenta Flood Fill — Opacity: 80%, pinte a layer com a cor #ffffff. Layers → New Mask Layer → From Image: flores.
Effects → Edge Effects → Enhance. Layers → Merge → Merge Group. Image → Resize: 90% — Resize all layers desmarcado.
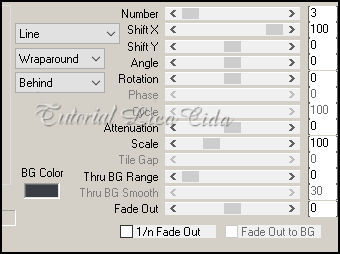
Blend Mode: Screen — Opacity: 83%. Com a ferramenta Pick Tool, posicione: Position X: 423,00 — Position Y: 70,00. Tecle M para desativar a ferramenta. 31_. Edit → Copy no deconet Edit → Paste As New Layer. Com a ferramenta Pick Tool, posicione: Position X: 277,00 — Position Y: 27,00. Tecle M para desativar a ferramenta. 32_. Plugin MuRa's Meister → Copies — Line.
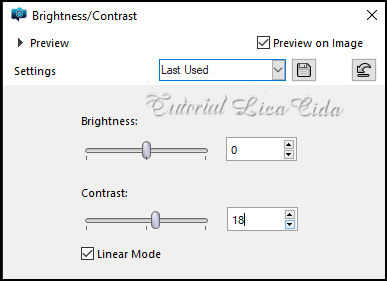
33_. Edit → Copy no texto toujours beau _lc Edit → Paste As New Layer. Use a gosto. Layers → Merge → Merge Visible. 34_. Adjust → Brightness and Contrast → Brightness/Contrast.
BORDAS Image → Add Borders: 1 px, Symmetric marcado — Color: cor do Background. Image → Add Borders: 10 px, Symmetric marcado — Color: #ffffff. Image → Add Borders: 1 px, Symmetric marcado — Color: cor do Background. Image → Add Borders: 50 px, Symmetric marcado — Color: #ffffff. Image → Add Borders: 1 px, Symmetric marcado — Color: cor do Background. Image → Resize: Width 1000 px. Aplique a marca-d'água. Assine e salve. Espero que gostem.
Aparecida / LicaCida, março de 2022.
Copyright ©2026 - Web Design - Naise Minas |