|
Thinking TRADUÇÕES
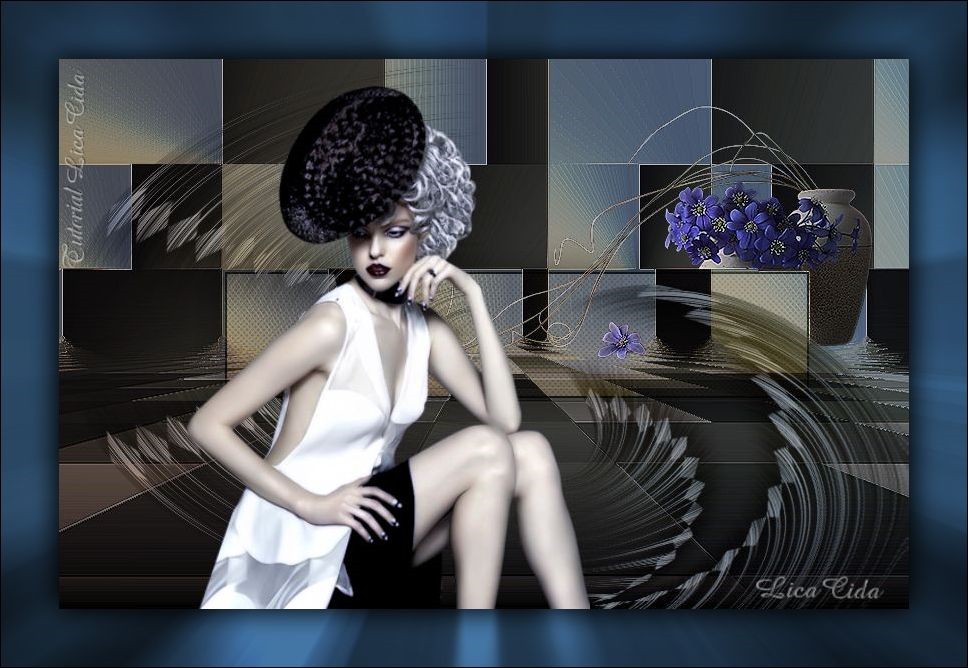
MATERIAL
Seleção: Narah_Sel47 --
Tube: Gabry-woman-956 Deco: kTs_Luiza_Gelts28
Elementos: backcristal
Mask: !!!!gradientedworisch
Marca-d'água.
Versão usada: PSP X7.
PLUGINS
Plugin VM Distortion → Tilomat 2000
TUTORIAL
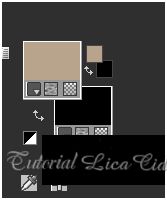
Configure: Foreground: #b8a48c — Background: #000000.
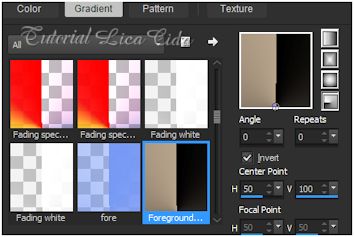
1_. Abra uma nova imagem transparente de 850 x 550 px. Pinte com a cor #000000. 2_. Layers → New Raster Layer. Pinte com o gradiente formado pelas cores #b8a48c e #000000 (retiradas do seu tube). Configure: Style: Radial — Angle: 0 — Repeats: 0 — Invert marcado — Center Point: H: 50 / V: 100.
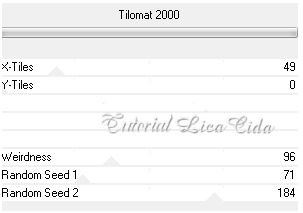
3_. Plugin VM Distortion → Tilomat 2000.
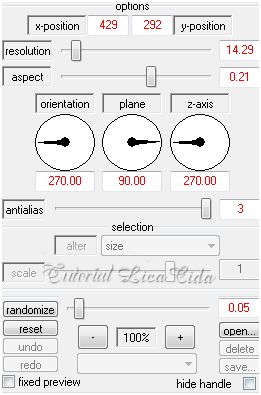
4_. Plugin Frischluft → Mosaic Plane → Default.
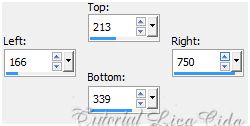
5_. Tecle a letra S e ative a Custom Selection.
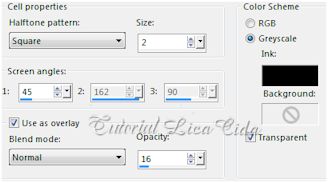
Selections → Promote Selection to Layer. Layers → New Raster Layer. Pinte com a cor do Background: #000000. 6_. Selections → Modify → Contract: 2 px. Tecle Delete. Layers → New Raster Layer. Pinte com a cor do Foreground: #b8a48c. Opacity: 40%. 7_. Effects → Artistic Effects → Halftone.
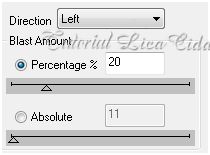
Effects → Edge Effects → Enhance. Selections → Select None. Layers → Merge → Merge Down (aplique duas vezes). Effects → 3D Effects → Drop Shadow: 0 / 0 / 100 / 60,00 — Color: #000000. 8_. Selections → Load/Save Selection → Load Selection From Disk → Narah_Sel47. Layers → New Raster Layer. Pinte com a cor do Foreground: #b8a48c. Selections → Select None. Effects → 3D Effects → Drop Shadow: 0 / 0 / 100 / 60,00 — Color: #000000. 9_. Plugin dsb flux → Blast.
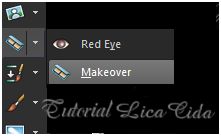
10_. Effects → Distortion Effects → Polar Coordinates — Rectangular to polar — Transparent. Layers → Duplicate. Image → Flip. Layers → Merge → Merge Down. Layers → Duplicate. Layers → Merge → Merge Down. Layers → Duplicate. 11_. Repita: Effects → Distortion Effects → Polar Coordinates — Rectangular to polar — Transparent. Image → Mirror. Effects → Image Effects → Offset: H: 41 / V: -137 — Custom e Transparent marcados. Blend Mode: Screen. Layers → Duplicate. Blend Mode: Multiply — Opacity: 65%. Layers → Merge → Merge Down. 12_. Ative a ferramenta Makeover.
Modo: Thinify.
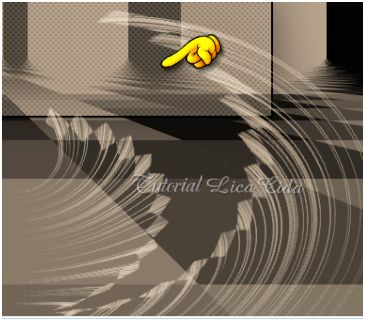
Deixe o cursor no ponto indicado e clique três vezes.
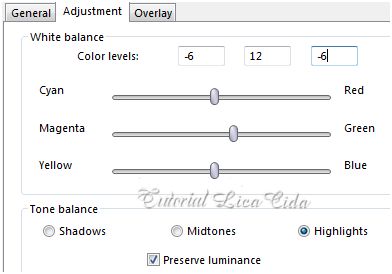
13_. Ative a Raster 2. Layers → New Mask Layer → From Image: !!!!gradientedworisch. Layers → Duplicate. Layers → Merge → Merge Group. 14_. Layers → New Raster Layer. Selections → Select All. Edit → Copy no backraster2trabalhadolc Edit → Paste Into Selection. Selections → Select None. Layers → Arrange → Move Down. 15_. Ative novamente a Group-Raster 2. Layers → New Adjustment Layer → White Balance. Primeiro ative Tone Balance (Highlights), depois aplique os valores (use a gosto).
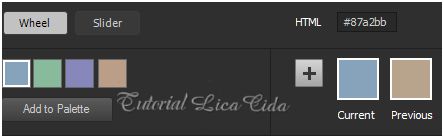
Blend Mode: Screen — Opacity: 65%. Layers → Merge → Merge Down. 16_. Clique no Foreground e procure a cor oposta (#87a2bb).
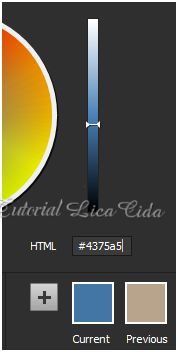
Escolha um tom mais escuro: #4375a5.
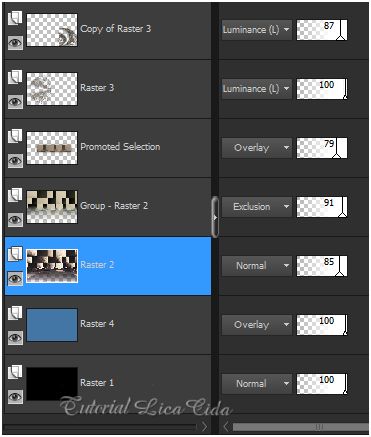
17_. Ative a Raster 1. Layers → New Raster Layer. Pinte com essa cor. Altere os Blend Modes e a Opacity das layers (use a gosto).
18_. Ative a layer Group-Raster 2. Edit → Copy no deco kTs_Luiza_Gelts28 Edit → Paste As New Layer. Image → Mirror. Image → Resize: 80% — Resize all layers desmarcado. Posicione. Layers → Duplicate. Layers → Arrange → Move Up. Com a ferramenta Eraser (Size: 60), retire o que fica aparente na layer Promoted Selection. 19_. Ative a layer superior. Edit → Copy no tube Gabry-woman-956 Edit → Paste As New Layer. Redimensione e posicione a gosto. 20_. Edit → Copy no backcristal Edit → Paste As New Layer. Image → Add Borders: 1 px, Symmetric marcado — Color: #000000. Borda e acabamento a gosto. Aplique a marca-d'água. Assine e salve. Espero que gostem.
Aparecida / LicaCida, março de 2015.
Copyright ©2026 - Web Design - Naise Minas |