|
Lynnette
DEDICATÓRIA
Carinhosamente.
TRADUÇÕES

MATERIAL

Back: backgroundby lc
Preset: Airbrush → Preset_Airbrush_3d --
Salvar na pasta Presets do PSP.
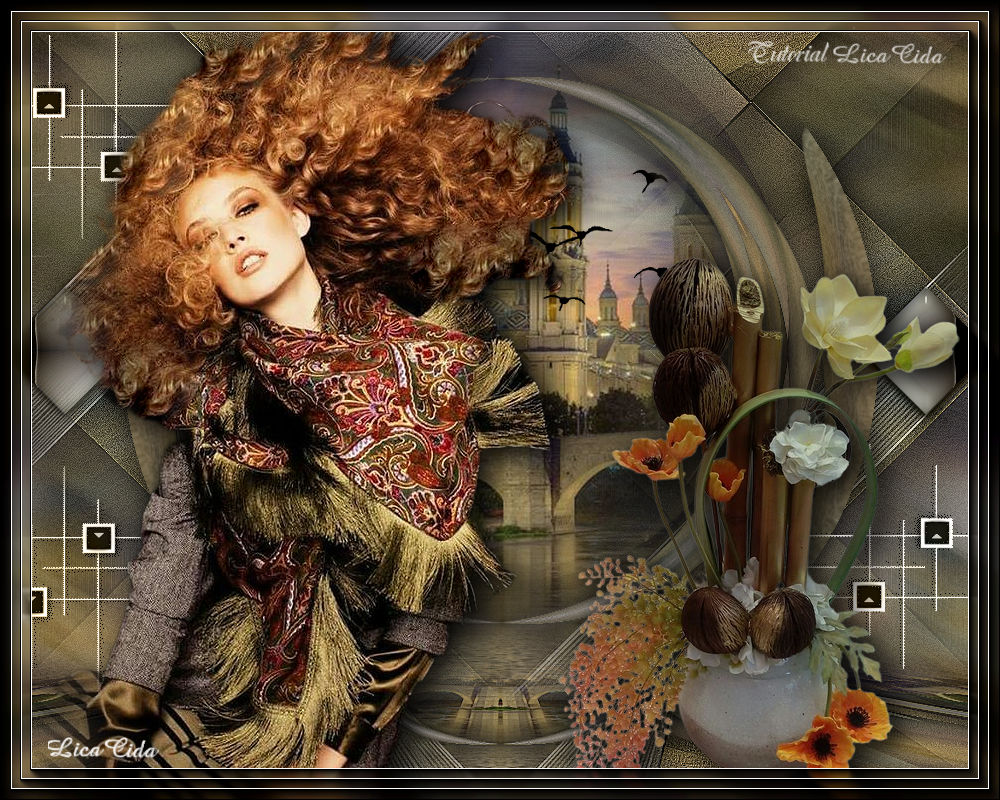
Tubes: MULHERES_1973
MISTED_NMCRIACOES_118
TUBE_NAISEM_FLORES_122
Deco: decorarquivonet
decorretangulolc
avesarquivo net
Marca-d'água.
Efeitos do PSP.
PLUGINS
Plugin VM Instant Art → Tripolis
Plugin Mehdi → Edges FX
Plugin Graphics Plus → Vertical Mirror
Plugin MuRa's Meister → Pole Transform
Plugin MuRa's Meister → Perspective Tiling
Plugin Convolution Filter → Emboss (light)
Plugin AAA Frames → Foto Frame
TUTORIAL
|
Esta seta marca sua linha
Clique e arraste para movê-la
|
|
Abra o material no PSP, duplique e feche os originais.
1_.
Abra o backgroundby lc (anexado ao material) ou use outro do seu agrado, inclusive cores.
2_.
Layers → New Raster Layer.
Selections → Select All.
Edit → Copy no tube MISTED_NMCRIACOES_118
Edit → Paste Into Selection.
Selections → Select None.
3_.
Effects → Image Effects → Seamless Tiling: Transition: 100.
4_.
Adjust → Blur → Motion Blur — Angle: 300 — Strength: 100 (aplique duas vezes).
Layers → Merge → Merge Down.
5_.
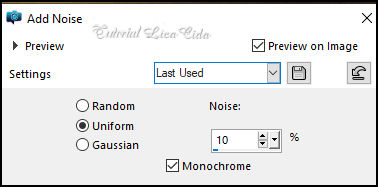
Adjust → Add/Remove Noise → Add Noise.
Layers → Duplicate.
Retire a visibilidade da layer original. Vamos trabalhar na cópia.
6_.
Plugin VM Instant Art → Tripolis: Default.
7_.
Plugin Mehdi → Edges FX — Color: #000000.
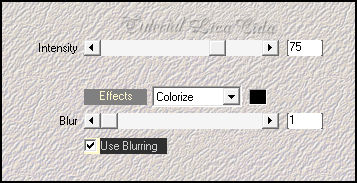
Adjust → Sharpness → Sharpen.
8_.
Ative a ferramenta Freehand Selection.
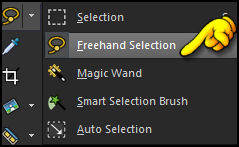
Configure:

Selecione como mostra o print e aperte a tecla Delete do teclado.
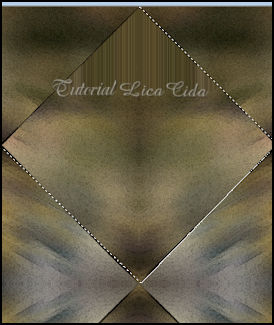
Ative a layer Background.
Selections → Promote Selection to Layer.
Selections → Select None.
LAYERS
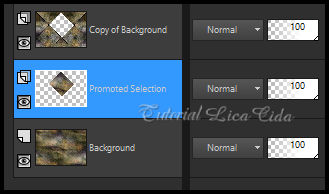
Delete a layer Promoted Selection.
9_.
Ative a layer do topo (Copy of Background).
Plugin Graphics Plus → Vertical Mirror: Default.
10_.
Effects → Image Effects → Seamless Tiling: Transition: 100.
Effects → 3D Effects → Drop Shadow: 0 / 0 / 80 / 40,00 — Color: #000000.
Layers → Duplicate.
11_.
Plugin MuRa's Meister → Pole Transform.
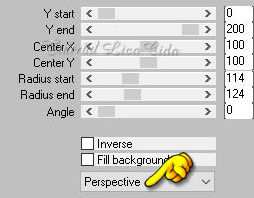
12_.
Plugin Convolution Filter → Emboss (light): Emboss 191.
Effects → 3D Effects → Drop Shadow: 0 / 0 / 80 / 40,00 — Color: #000000.
13_.
Plugin Graphics Plus → Vertical Mirror: Default.
14_.
Ative a ferramenta Airbrush.
Foreground: #ffffff — Background: transparente.
Selecione o Preset_Airbrush_3d ou configure (use de baixo para cima):

Aplique onde indico no tutorial (retire a visibilidade da layer do topo para trabalhar melhor).
Effects → Edge Effects → Enhance.
15_.
Edit → Copy no tube MISTED_NMCRIACOES_118
Edit → Paste As New Layer.
Image → Resize: 80% — Resize all layers desmarcado (aplique duas vezes).
Adjust → Sharpness → Sharpen More.
Layers → Arrange → Move Down.
Ative a layer do topo.
16_.
Edit → Copy Special → Copy Merged.
Edit → Paste As New Layer.
17_.
Image → Canvas Size: 1000 x 800 — Bottom: 100.
18_.
Plugin MuRa's Meister → Perspective Tiling: Height: 20.
Effects → Reflection Effects → Rotating Mirror: Default.
19_.
Com a ferramenta Magic Wand (Tolerance: 0 — Feather: 60), clique na parte transparente.
Aperte a tecla Delete do teclado 4 a 6 vezes.
Selections → Select None.
Adjust → Sharpness → Sharpen More.
20_.
Edit → Copy no decorretangulolc
Edit → Paste As New Layer.
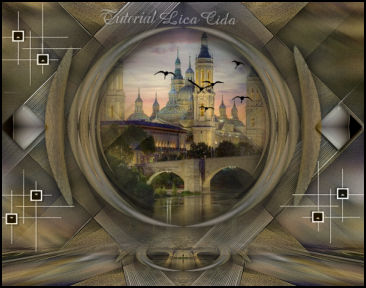
Posicione ao lado esquerdo, como no modelo.
21_.
Effects → Reflection Effects → Rotating Mirror: 0 / 180.
22_.
Edit → Copy no decorarquivonet
Edit → Paste As New Layer.
Posicione como no modelo ou a gosto.
23_.
Edit → Copy no avesarquivo net
Edit → Paste As New Layer.
Posicione como no modelo ou a gosto.
24_.
Edit → Copy no tube MULHERES_1973
Edit → Paste As New Layer.
Posicione.
25_.
Edit → Copy no tube TUBE_NAISEM_FLORES_122
Edit → Paste As New Layer.
Posicione.
Aplique Drop Shadow como desejar.
26_.
Layers → Merge → Merge Visible.
27_.
Plugin AAA Frames → Foto Frame: Width: 30 — Matte: 1, demais valores Default.
28_.
Plugin AAA Frames → Foto Frame: Width: 20 — Matte: 1, demais valores Default.
29_.
Plugin AAA Frames → Foto Frame: Width: 10 — Matte: 1, demais valores Default.
30_.
Layers → Merge → Merge All (Flatten).
Aplique a marca-d'água.
Assine e salve.
File → Export → JPEG Optimizer.
Aparecida / LicaCida, setembro de 2023.
Rio de Janeiro - Brasil.

VOLTAR
Copyright ©2026 - Web Design - Naise Minas
|


