|
Laura TRADUÇÕES
MATERIAL
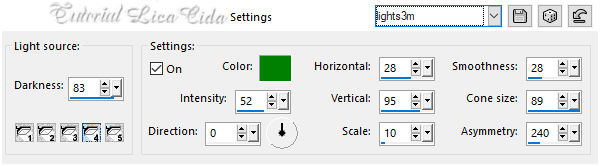
Preset: Illumination → Lights → Preset_Lights_lights3m --
Preset: Preset_LightenDarken_ajustarluz --
Tubes: VERLAINE A 112
Brush: bird_brushes_II_by_lpdragonfly_5
Deco: deco_lc
Marca-d'água.
Versão usada: PSP X9.
PLUGINS
Plugin Unlimited 2 → &<Bkg Kaleidoscope> → Flip SidesRsf
TUTORIAL
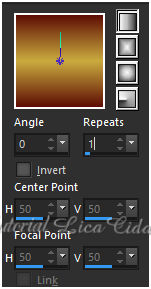
Configure: Foreground: #5e0e05 — Background: #caab3f. 1_. Abra uma nova imagem de 1024 x 800 px. Pinte com o gradiente formado pelas cores acima. Configure: Style: Linear — Angle: 0 — Repeats: 1 — Invert desmarcado.
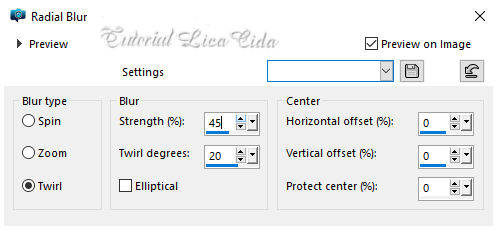
2_. Selections → Select All. Edit → Copy no tube VERLAINE A 112 Edit → Paste Into Selection. Selections → Select None. Effects → Image Effects → Seamless Tiling: Default. 3_. Adjust → Blur → Radial Blur.
4_. Plugin Unlimited 2 → &<Bkg Kaleidoscope> → Flip SidesRsf.
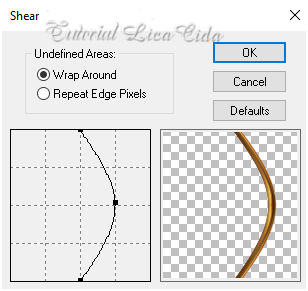
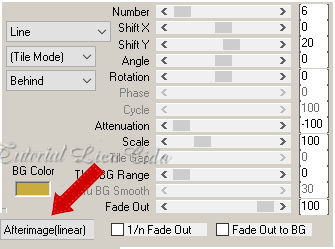
Layers → Duplicate. 5_. Effects → Geometric Effects → Perspective - Horizontal: 90 — Transparent. Image → Mirror → Mirror Horizontal. Repita o Perspective - Horizontal. 6_. Image → Rotate Left. 7_. Effects → Distortion Effects → Pinch — Strength: 100%. 8_. Plugin Distort → Shear.
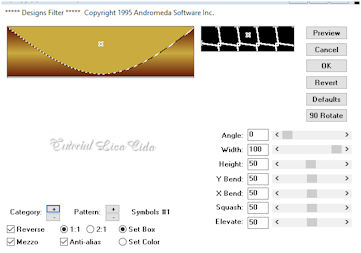
9_. Image → Rotate Right. 10_. Effects → Image Effects → Offset: H: 0 / V: -87 — Custom e Transparent marcados. 11_. Com a ferramenta Magic Wand (Default), selecione a parte inferior do efeito. Layers → New Raster Layer. Pinte com o mesmo gradiente formado no item 1. 12_. Plugin Andromeda → Designs.
13_. Plugin Transparency → Eliminate Black. Selections → Select None. Effects → 3D Effects → Drop Shadow: 1 / 1 / 85 / 2,00 — Color: #000000. Ative a Copy of Raster 1. Layers → Arrange → Move Up. 14_. Plugin MuRa's Meister → Copies.
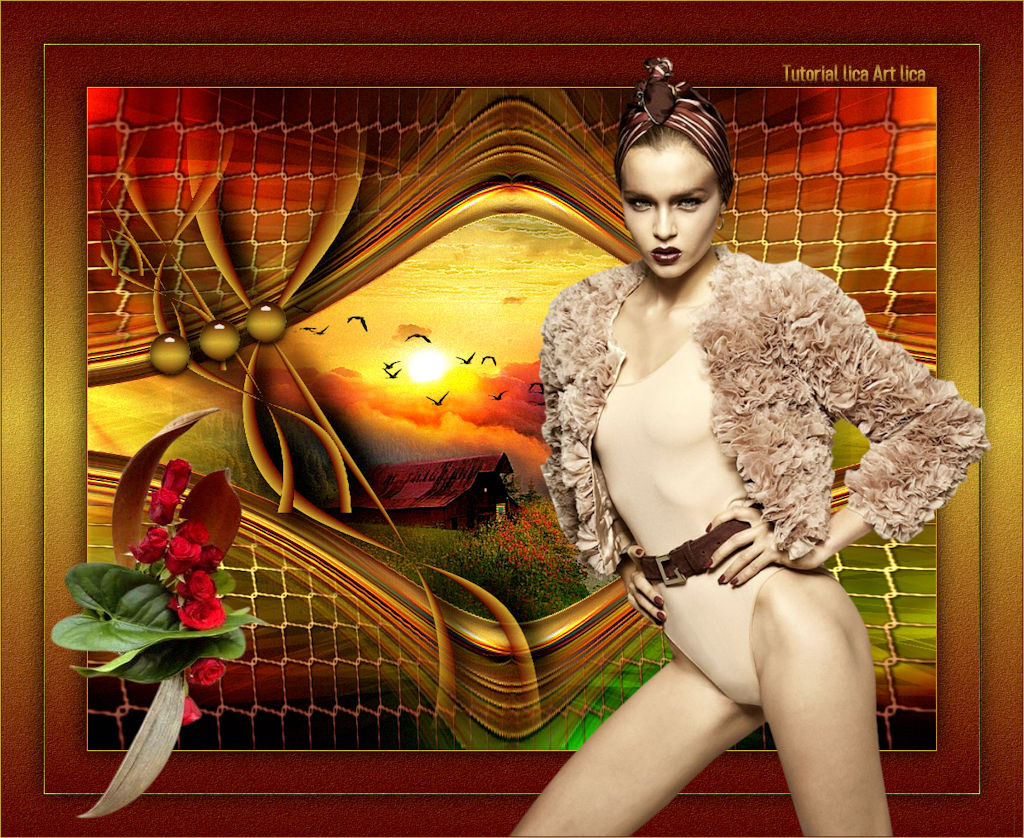
Effects → Edge Effects → Enhance More. Layers → Duplicate. Image → Mirror → Mirror Vertical. Layers → Merge → Merge Down. Ative a Raster 2. Layers → Duplicate. Image → Mirror → Mirror Vertical. Layers → Merge → Merge Down. 15_. Edit → Copy no tube VERLAINE A 112 Edit → Paste As New Layer. Image → Resize: 80% — Resize all layers desmarcado.
Adjust → Sharpness → Sharpen More. Opcional: Image → Mirror → Mirror Horizontal. 16_. Ative a Raster 1. Effects → Illumination Effects → Lights → Preset_Lights_lights3m.
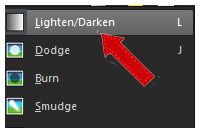
Layers → Duplicate. 17_. Ative a ferramenta Lighten/Darken e selecione o preset Preset_LightenDarken_ajustarluz (anexado ao material).
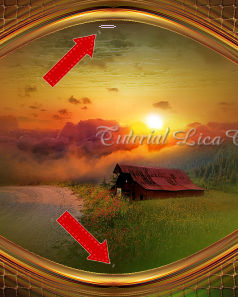
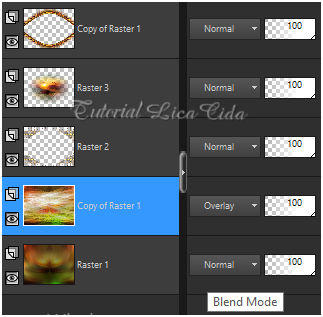
Passe a ferramenta até a parte inferior do misted, como mostra o print (deixe rodar). Blend Mode: Overlay.
18_. Ative a layer superior (Copy of Raster 1). Effects → Distortion Effects → Pinch — Strength: 100%. Repita na Raster 2. 19_. Edit → Copy no brush bird_brushes_II_by_lpdragonfly_5 Edit → Paste As New Layer. Posicione (deverá ficar acima do misted). 20_. Ative a layer superior. Edit → Copy no deco1_lc Edit → Paste As New Layer. 21_. Effects → Image Effects → Offset: H: -195 / V: 5 — Custom e Transparent marcados. 22_. Edit → Copy no deco_lc Edit → Paste As New Layer. Use como no modelo. BORDAS Image → Add Borders: 1 px, Symmetric marcado — Color: #5e0e05 (Foreground). Image → Add Borders: 1 px, Symmetric marcado — Color: #caab3f (Background). Selections → Select All. Image → Add Borders: 50 px, Symmetric marcado — Color: #ffffff. Selections → Invert. Pinte com o gradiente formado no item 1. Adjust → Add/Remove Noise → Add Noise: 10% — Gaussian — Monochrome marcado. Plugin FM Tile Tools → Blend Emboss. Selections → Invert. Effects → 3D Effects → Drop Shadow: 0 / 0 / 80 / 40,00 — Color: #000000. Repita os itens acima. 23_. Edit → Copy no tube verlaine A176 Edit → Paste As New Layer. Posicione. 24_. Edit → Copy no tube Callitubes-159flores Edit → Paste As New Layer. Use a gosto. Plugin Alien Skin Eye Candy 5: Impact → Perspective Shadow — Blurry. Use nos efeitos desejados. Image → Resize: Width 1024 px. Aplique a marca-d'água. Assine e salve. Espero que gostem. Obrigada!
Aparecida / LicaCida, novembro de 2021.
Copyright ©2026 - Web Design - Naise Minas |