|
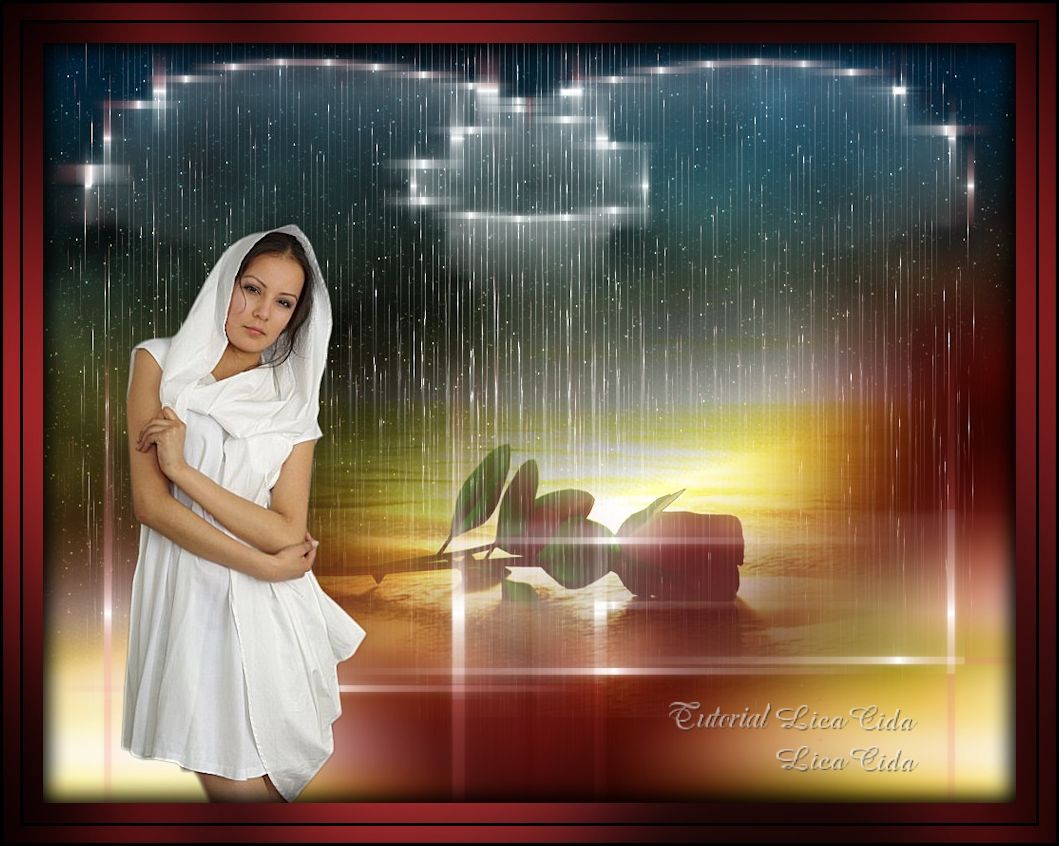
If
TRADUÇÕES

MATERIAL

Script: if --
Salvar na pasta Scripts Restricted do PSP.
Opção ao script: scriptif
Tubes: woman249_ByHebe
Mist corinne.vicaire - mer 07.03.11 - 01_
Colorido: coloridoif
Mask: !!!!gradientedworisch
Marca-d'água.
Efeitos do PSP.
Versão usada: PSP X7, podendo ser usado em outras versões.
PLUGINS
Plugin Alien Skin Eye Candy 5: Impact → Motion Trail
Plugin Medhy → Weaver
Plugin MuRa's Seamless → Shift at Wave
Plugin Flaming Pear → Glitterato
Plugin DC Layer → SideMerge
Plugin Nik Software → Color Efex Pro 3.0 → Bi-Color Filters
TUTORIAL
|
Esta seta marca sua linha
Clique e arraste para movê-la
|
|
1_.
Abra uma nova imagem transparente de 1024 x 700 px.
2_.
Rode o script "if".
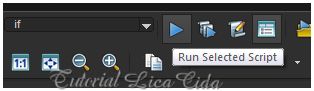
Procure o script "if".
Clique em Run Selected Script para rodá-lo.
Ou use o scriptif, enviado com o material, e delete a Raster 2.
3_.
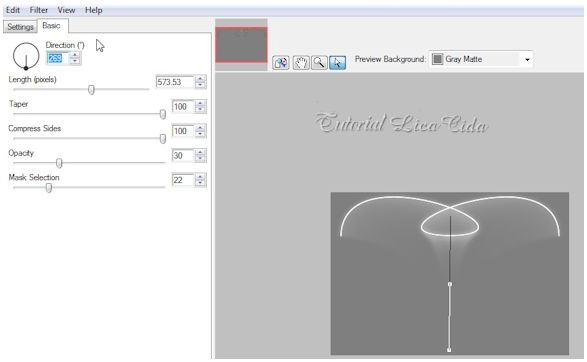
Plugin Alien Skin Eye Candy 5: Impact → Motion Trail: D=269 / L=573,53 / T=100 / C=100 / O=30 / M=22.
Layers → Duplicate.
4_.
Plugin Medhy → Weaver.
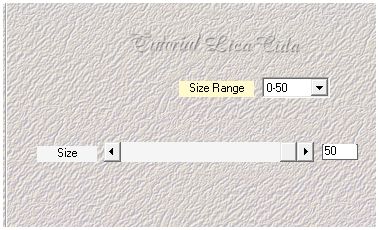
Ative a Raster 1.
Image → Flip.
Objects → Align → Bottom.
O efeito ficará no final do top.
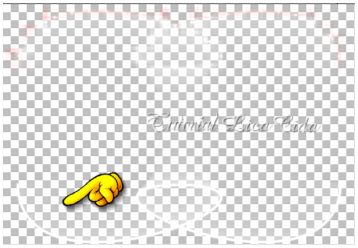
5_.
Image → Canvas Size: 1024 x 800 — Bottom: 100.
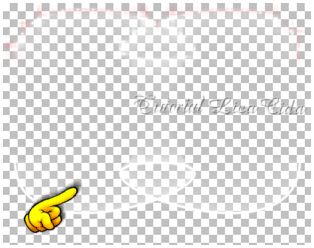
6_.
Plugin Medhy → Weaver (mudando os valores).
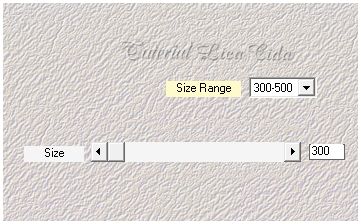
7_.
Layers → New Raster Layer.
Layers → Arrange → Send to Bottom.
Pinte com o gradiente formado pelas cores #390708 e #e84a4d.
Configure: Style: Sunburst — Repeats: 0 — Invert marcado — Center Point: H: 50 / V: 50 — Focal Point: H: 50 / V: 50.
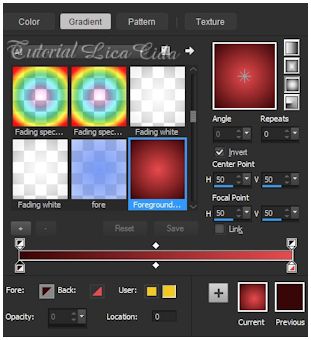
Ative a Copy of Raster 1.
Layers → Duplicate.
Layers → Arrange → Move Down.
8_.
Plugin MuRa's Seamless → Shift at Wave.
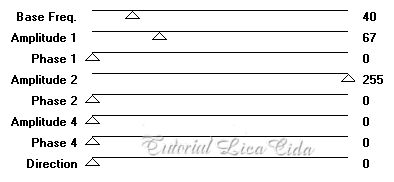
9_.
Layers → New Mask Layer → From Image: !!!!gradientedworisch.
Layers → Duplicate.
Layers → Merge → Merge Group.
Ative a Raster 2.
Layers → New Raster Layer.
10_.
Plugin Flaming Pear → Glitterato.
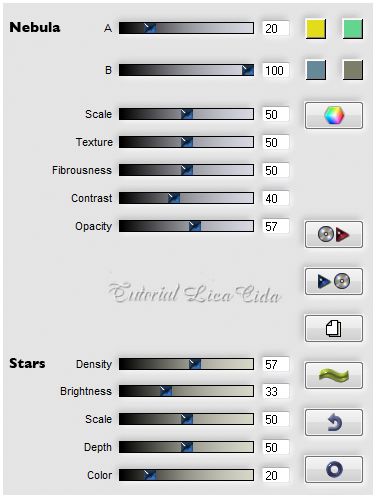
11_.
Plugin DC Layer → SideMerge.
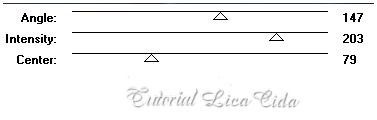
Ative novamente a Raster 2.
12_.
Selections → Select All.
Edit → Copy no Mist corinne.vicaire - mer 07.03.11 - 01_
Edit → Paste Into Selection.
Selections → Select None.
13_.
Effects → Image Effects → Seamless Tiling: Default.
14_.
Adjust → Blur → Gaussian Blur — Radius: 20,00.
15_.
Edit → Paste As New Layer.
O Mist corinne.vicaire - mer 07.03.11 - 01_ está na memória.
16_.
Adjust → Sharpness → Sharpen More.
Ative novamente a Raster 2.
Layers → Duplicate.
17_.
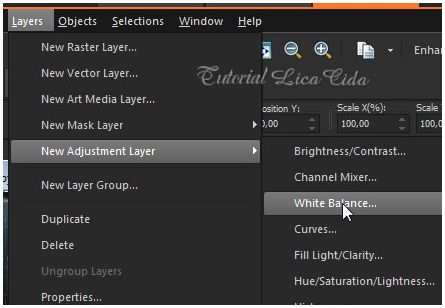
Layers → New Adjustment Layer → White Balance.
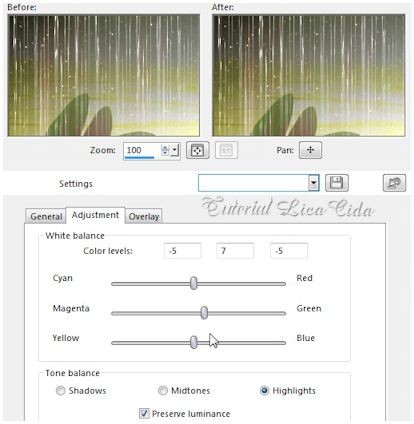
Ajuste todos os controles: Shadows, Midtones e Highlights.
Use de acordo com as cores escolhidas: sairá a tonalidade desejada (mais clara ou mais escura).
Blend Mode: Multiply.
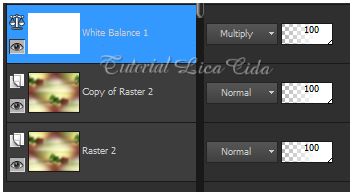
Layers → Merge → Merge Down.
Repita.
18_.
Edit → Copy no coloridoif
Edit → Paste As New Layer.
Ative a Raster 3.
Layers → Duplicate.
19_.
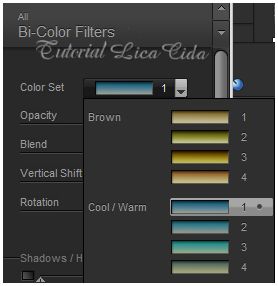
Plugin Nik Software → Color Efex Pro 3.0 → Bi-Color Filters — Color Set: Cool/Warm 1.
LAYERS
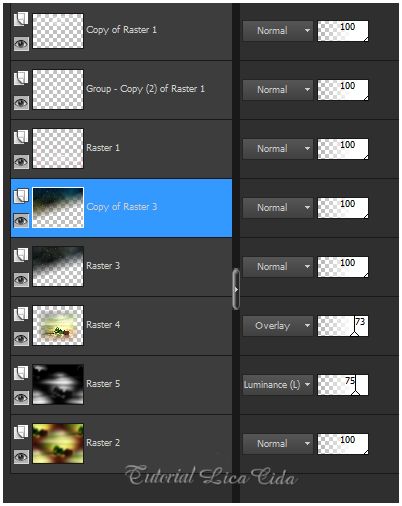
Ative a layer superior.
20_.
Edit → Copy no tube woman249_ByHebe
Edit → Paste As New Layer.
Redimensione e posicione a gosto.
Faça seu acabamento.
Aplique a marca-d'água.
Assine e salve.
Espero que gostem.
Aparecida / LicaCida, dezembro de 2014.
Rio de Janeiro - Brasil.


VOLTAR
Copyright ©2026 - Web Design - Naise Minas
|

