|
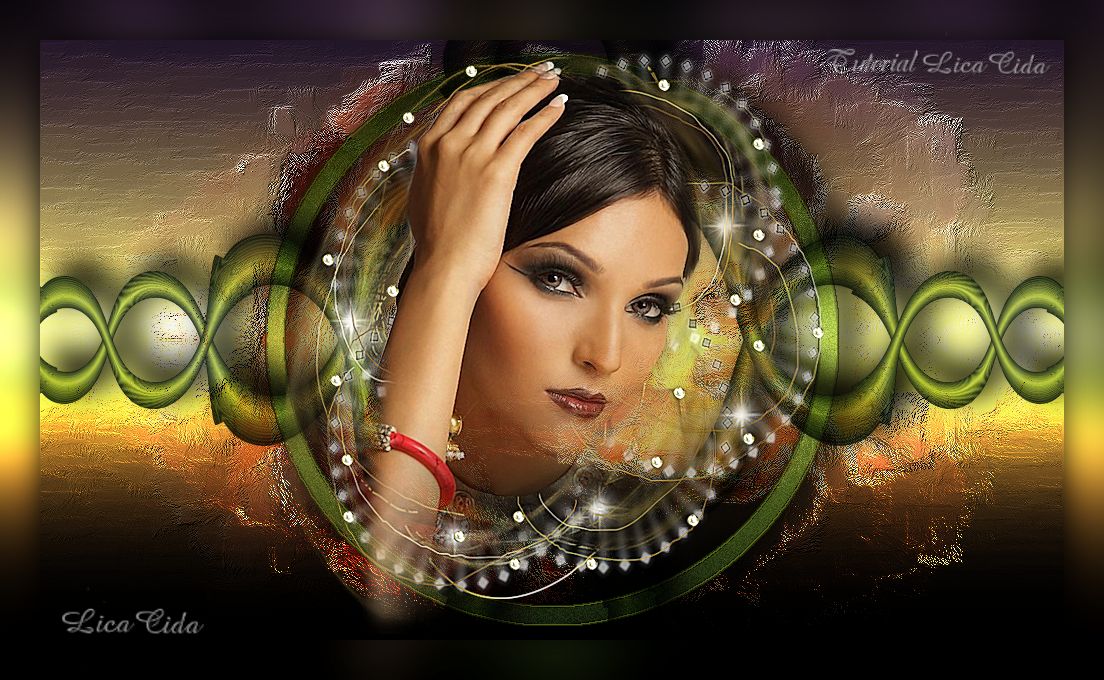
Entrelaços DEDICATÓRIA
Adriana, espero que você goste do carinho que envio.
TRADUÇÕES
MATERIAL
Tube: pspcybertubes2012-261 Mask: !!!!gradientedworisch
Marca-d'água.
Versão usada: PSP X7, podendo ser usado em outras versões.
PLUGINS
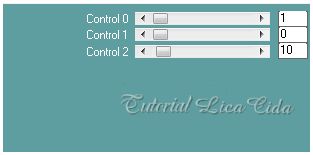
Plugin Carolaine and Sensibility → CS-HLines
TUTORIAL
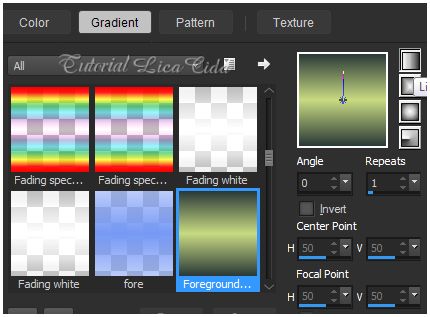
1_. Abra uma nova imagem transparente de 1024 x 600 px. Pinte com o gradiente formado pelas cores #2b3a38 e #c8da81. Configure: Style: Linear — Angle: 0 — Repeats: 1 — Invert desmarcado.
Layers → Duplicate. Retire a visibilidade da Raster 1. 2_. Plugin Carolaine and Sensibility → CS-HLines.
3_. Adjust → Add/Remove Noise → JPEG Artifact Removal.
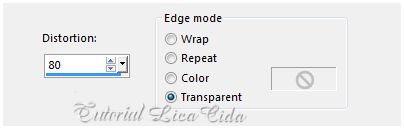
4_. Plugin FM Tile Tools → Blend Emboss. 5_. Effects → Geometric Effects → Perspective - Horizontal: 80 — Transparent.
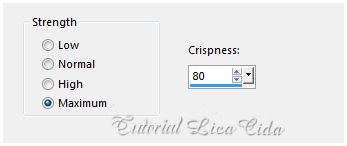
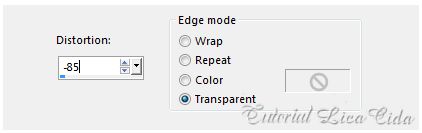
6_. Effects → Distortion Effects → Pinch — Strength: 100. 7_. Effects → Geometric Effects → Perspective - Horizontal: -85 — Transparent (valor negativo).
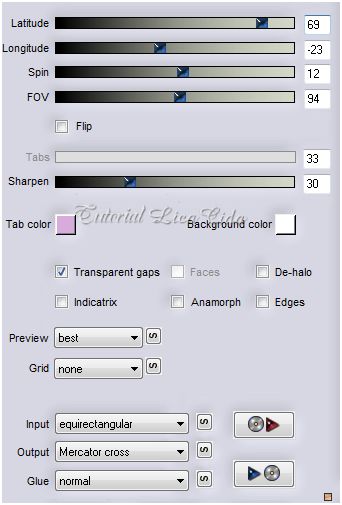
8_. Plugin Flaming Pear → Flexify 2.
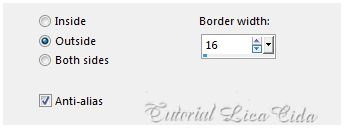
Layers → Duplicate. Image → Mirror. Layers → Merge → Merge Down. 9_. Ative a Raster 1. Effects → Geometric Effects → Circle — Transparent. 10_. Edit → Copy no tube pspcybertubes2012-261 Edit → Paste As New Layer. Redimensione e posicione no círculo, na porcentagem atual (use a gosto). 11_. Ative novamente a Raster 1. Image → Resize: 90% — Resize all layers desmarcado. Opacity: 50 / 51%. Selections → Select All. Selections → Float. Selections → Defloat. Selections → Modify → Select Selection Borders.
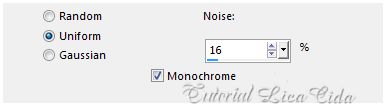
12_. Layers → New Raster Layer. Pinte com o mesmo gradiente formado no item 1. Adjust → Add/Remove Noise → Add Noise.
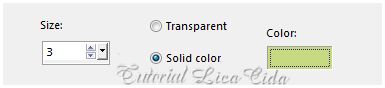
Effects → User Defined Filter → Emboss_3. 13_. Effects → 3D Effects → Chisel — Color: cor clara usada no Background (#c8da81).
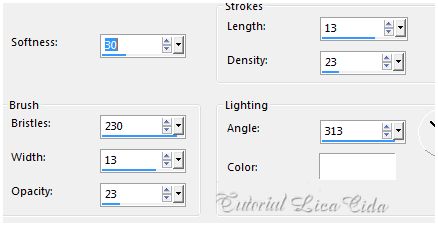
Opacity: 70 / 71%. Selections → Select None. 14_. Layers → New Raster Layer. Pinte com o mesmo gradiente formado no item 1. Layers → Arrange → Send to Bottom. 15_. Selections → Select All. Edit → Paste Into Selection (o tube pspcybertubes2012-261). Selections → Select None. 16_. Effects → Art Media Effects → Brush Strokes.
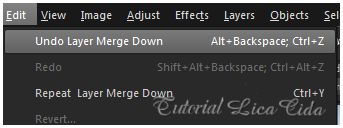
17_. Layers → New Mask Layer → From Image: !!!!gradientedworisch. Layers → Duplicate. Layers → Merge → Merge Down. Edit → Undo Layer Merge Down.
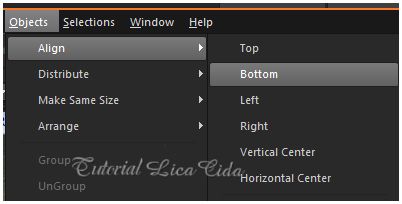
Layers → Merge → Merge Group. 18_. Layers → Duplicate. Image → Flip. Objects → Align → Bottom.
LAYERS
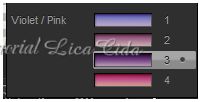
19_. Plugin Nik Software → Color Efex Pro 3.0 → Bi-Color Filters — Color Set: Violet/Pink 3.
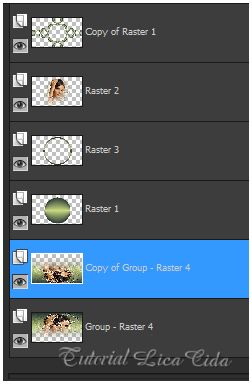
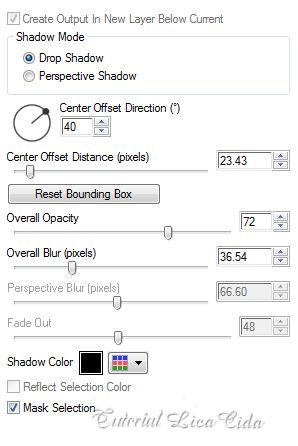
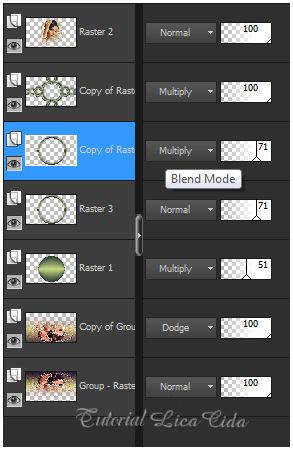
20_. Repita o efeito do item 19 na layer abaixo: Group-Raster 4. 21_. Ative a Raster 2. Layers → Arrange → Bring to Top. 22_. Plugin Alien Skin Eye Candy 5: Impact → Perspective Shadow (nas layers Copy of Raster 1 e Raster 3).
Altere os Blend Modes e a Opacity das layers a gosto.
Aplique a marca-d'água. Assine e salve. Formate a gosto. Espero que gostem.
Aparecida / LicaCida, novembro de 2014.
Copyright ©2026 - Web Design - Naise Minas |