|
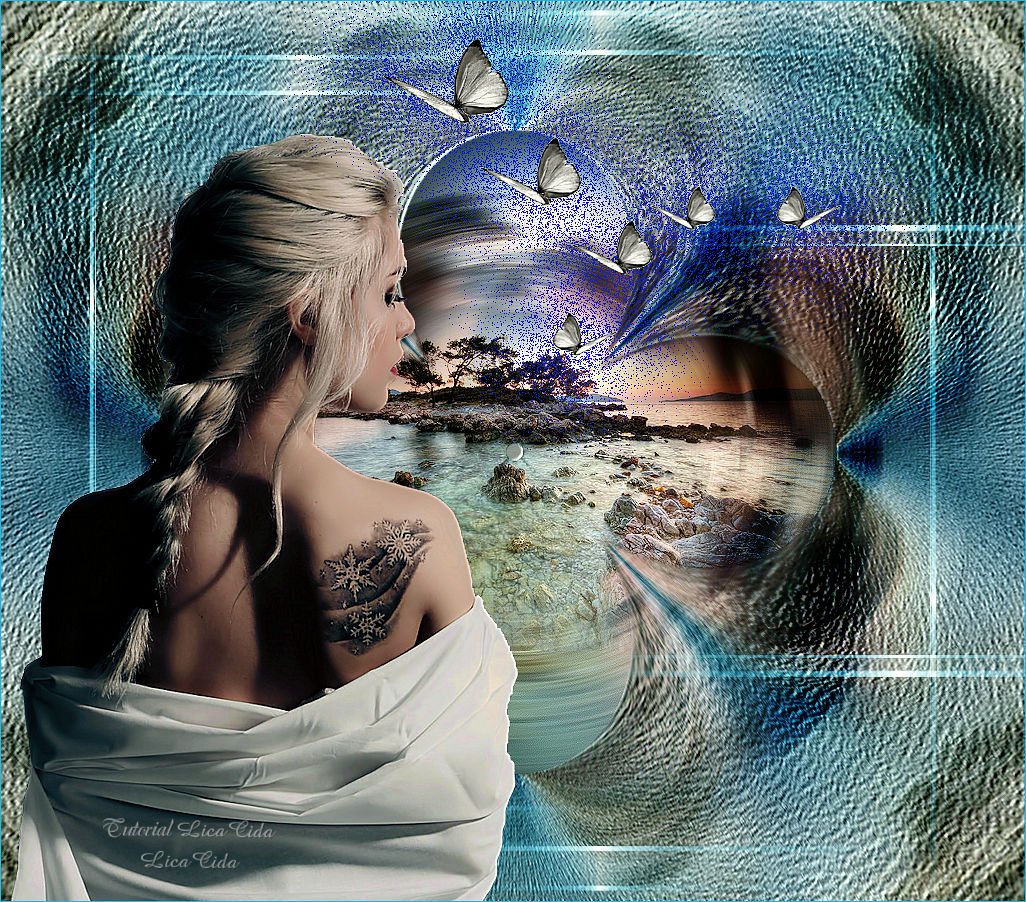
Butterflies
TRADUÇÕES

MATERIAL

Tubes: tube2631_mulher_mara_pontes
Landscape_69
borboletas (MaraPontes, cedido)
Marca-d'água.
Efeitos do PSP.
Versão usada: PSP X7.
PLUGINS
Plugin Mehdi → Weaver
Plugin Simple → 4 Way Average
Plugin Unlimited 2 → Paper Textures
Plugin Flaming Pear → Flexify 2
Plugin Alien Skin Eye Candy 5: Impact → Perspective Shadow
Plugin AAA Filters → Custom
TUTORIAL
|
Esta seta marca sua linha
Clique e arraste para movê-la
|
|
1_.
Abra uma nova imagem transparente de 1024 x 900 px.
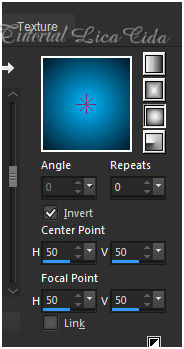
Pinte com o gradiente formado pelas cores #001927 e #00b8ff.
Configure: Style: Sunburst — Repeats: 0 — Invert marcado — Center Point: H: 50 / V: 50 — Focal Point: H: 50 / V: 50.
2_.
Ative a ferramenta Selection Tool (tecla S) → Custom Selection.
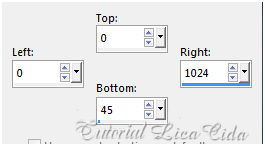
Selections → Modify → Select Selection Borders.
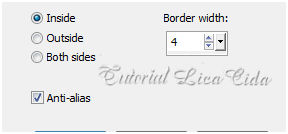
Layers → New Raster Layer.
Pinte essa borda com a cor #ffffff — Opacity: 100%.
Selections → Select None.
Pinte a parte interna da borda com a cor #ffffff — Opacity: 20%.
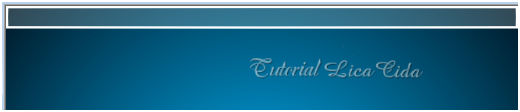
Layers → Duplicate.
Image → Flip.
Layers → Merge → Merge Down.
3_.
Effects → Geometric Effects → Circle — Transparent.
4_.
Plugin Mehdi → Weaver.
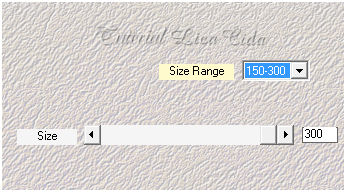
5_.
Ative a Raster 1.
Selections → Select All.
Edit → Copy no tube Landscape_69
Edit → Paste Into Selection.
Selections → Select None.
Effects → Image Effects → Seamless Tiling — Default.
6_.
Adjust → Blur → Radial Blur.
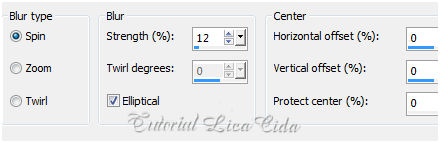
Effects → Edge Effects → Enhance.
Layers → Duplicate.
7_.
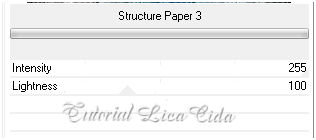
Plugin Unlimited 2 → Paper Textures.
8_.
Effects → Geometric Effects → Circle — Transparent (como no item 3).
9_.
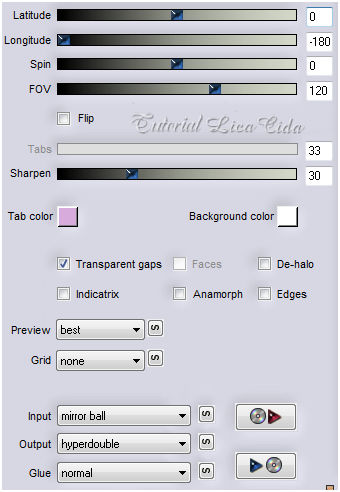
Plugin Flaming Pear → Flexify 2.
10_.
Plugin Simple → 4 Way Average.
Effects → User Defined Filter → Emboss_3.
11_.
Plugin Alien Skin Eye Candy 5: Impact → Perspective Shadow — Preset: Blurry.
12_.
Ative a Raster 1.
Edit → Copy no tube Landscape_69
Edit → Paste As New Layer.
Image → Resize: 80% — Resize all layers desmarcado.
Adjust → Sharpness → Sharpen.
13_.
Ative a Raster 2.
Edit → Copy no tube tube2631_mulher_mara_pontes
Edit → Paste As New Layer.
Image → Resize: 80% — Resize all layers desmarcado.
Posicione.
Adjust → Sharpness → Sharpen More.
Layers → Duplicate.
14_.
Adjust → Blur → Radial Blur (como no item 6).
Layers → Duplicate.
Image → Mirror.
Layers → Merge → Merge Down.
Image → Flip.
Blend Mode: Overlay.
Layers → Arrange → Move Down.
15_.
Ative a Raster 4.
Edit → Copy nas borboletas (aplique Colorize para usar a cor desejada; usei 43 / 0)
Edit → Paste As New Layer.
Posicione e verifique se o posicionamento está correto.
Layers → Duplicate.
16_.
Layers → Properties → Layer Styles (clique na melhor opção de cor para você).
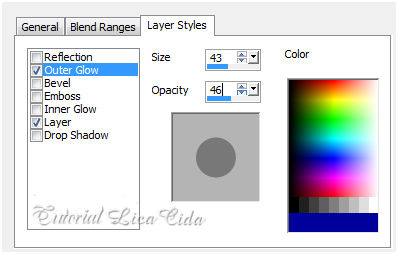
Blend Mode: Dissolve — Opacity: 83% (use a gosto).
Layers → Arrange → Move Down.
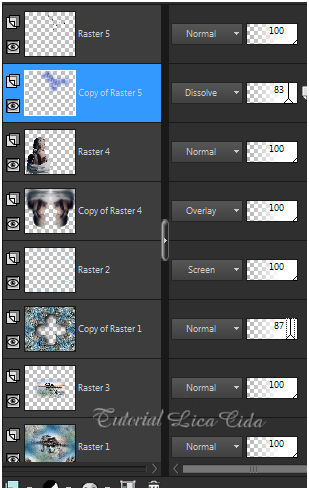
Altere os Blend Modes e a Opacity das layers (use a gosto).
17_.
Image → Add Borders: 1 px, Symmetric marcado — Color: #00b8ff.
Image → Add Borders: 1 px, Symmetric marcado — Color: #001927.
18_.
Plugin AAA Filters → Custom — Landscape.
Aplique a marca-d'água.
Assine e salve.
Espero que gostem.
Aparecida / LicaCida, fevereiro de 2016.
Rio de Janeiro - Brasil.

VOLTAR
Copyright ©2026 - Web Design - Naise Minas
|

