|
Beautiful Nature TRADUÇÕES
MATERIAL
Back: backbeautifulnature
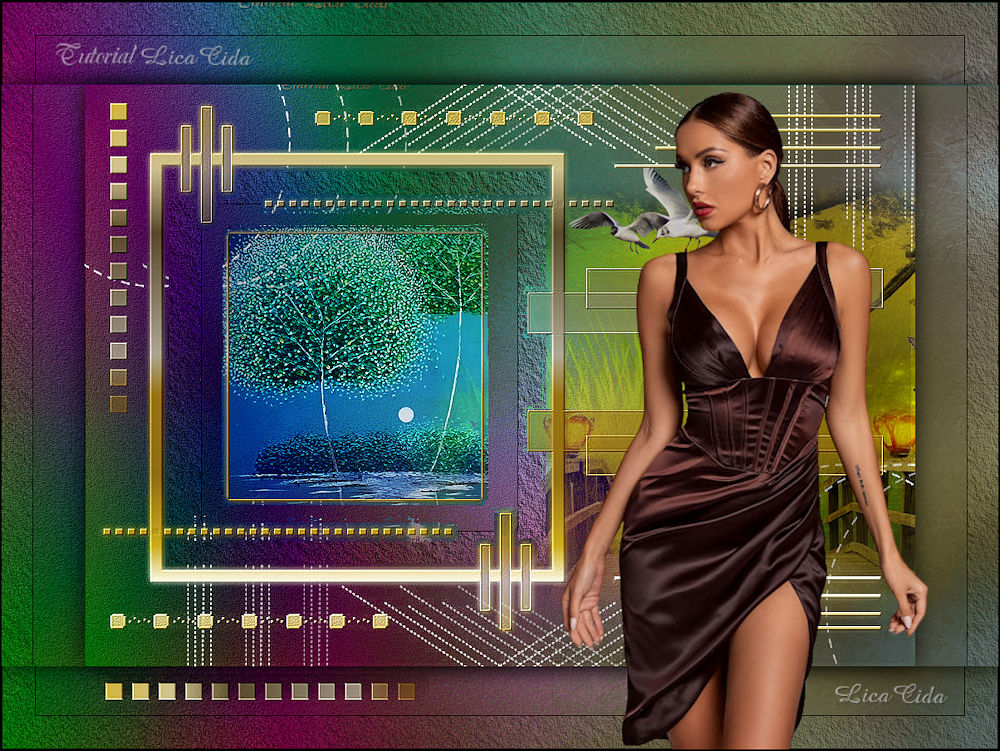
Tubes: AS tube 90a-e27
Deco: nicole-deco4-2020
Elementos: IMAGEM MINIMIZADA
Masks: creation.tine_masque078
Gradiente: Corel_06_022
Marca-d'água.
Versão usada: PSP X9.
PLUGINS
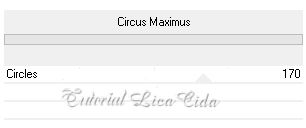
Plugin Filters Unlimited 2 → &<Bkg Designer sf10 I> → Circus Maximus
TUTORIAL
1_. Abra o backbeautifulnature. Layers → Promote Background Layer. Opcional: para mudar a cor, use Adjust → Hue and Saturation → Colorize. 2_. Plugin Filters Unlimited 2 → &<Bkg Designer sf10 I> → Circus Maximus.
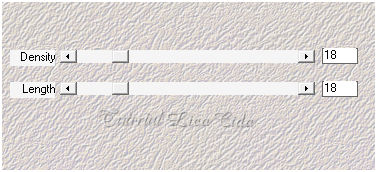
3_. Plugin Mehdi → Fur.
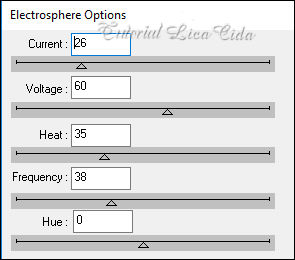
Layers → Duplicate. 4_. Plugin dsb flux → Electrosphere.
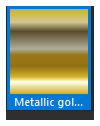
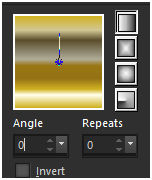
5_. Adjust → Add/Remove Noise → Add Noise: 10% — Uniform — Monochrome marcado. Plugin FM Tile Tools → Blend Emboss. Blend Mode: Darken. Layers → Merge → Merge Down. Copie a layer e minimize: vamos usar mais tarde. 6_. Layers → New Raster Layer. Pinte com o gradiente Corel_06_022 (Metallic gold).
Configure: Style: Linear — Angle: 0 — Repeats: 0 — Invert desmarcado.
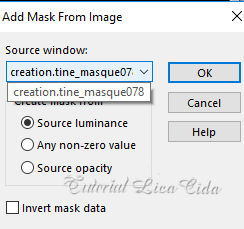
7_. Layers → New Mask Layer → From Image: creation.tine_masque078 — Invert mask data desmarcado.
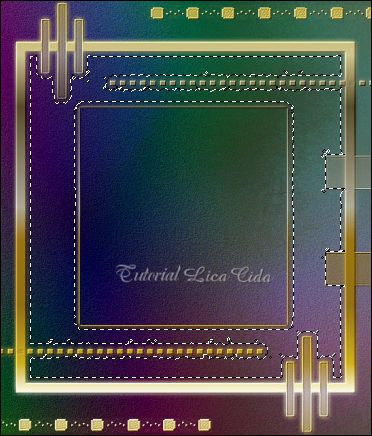
Effects → Edge Effects → Enhance. Layers → Merge → Merge Group. Plugin MuRa's Seamless → Emboss at Alpha (Default). Plugin Alien Skin Eye Candy 5: Impact → Perspective Shadow — Blurry. 8_. Com a ferramenta Magic Wand (Default), selecione a moldura, como mostra o print.
Ative a Raster 1. Selections → Promote Selection to Layer. 9_. Plugin AAA Frames → Texture Frame (Default). Selections → Select None. Ative a layer superior. Layers → Merge → Merge Down. 10_. Volte à Raster 1. Edit → Copy no tube AS tube -4ee82b Edit → Paste As New Layer. Adjust → Sharpness → Sharpen. Posicione do lado esquerdo, como no modelo. Opcional: Image → Resize. Blend Mode: Hard Light. 11_. Edit → Copy no tube paysages_0147_lisat Edit → Paste As New Layer. Posicione do lado direito, como no modelo. Adjust → Sharpness → Sharpen More. Image → Resize: 80% — Resize all layers desmarcado (três vezes). Blend Mode: Overlay. 12_. Edit → Copy no nicole-deco4-2020 Edit → Paste As New Layer. Image → Resize a gosto — Resize all layers desmarcado.
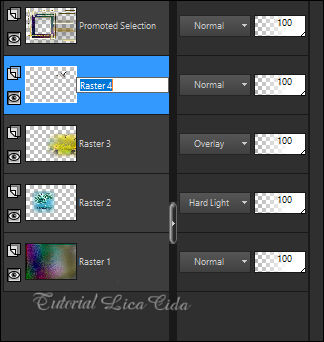
Adjust → Sharpness → Sharpen. Posicione. Arrume o fundo do back. LAYERS
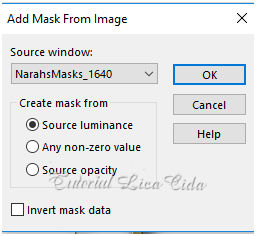
Altere os Blend Modes e a Opacity das layers. 13_. Ative a Raster 4. Layers → New Raster Layer. Pinte com a cor #ffffff. Layers → New Mask Layer → From Image: NarahsMasks_1640 — Invert mask data desmarcado.
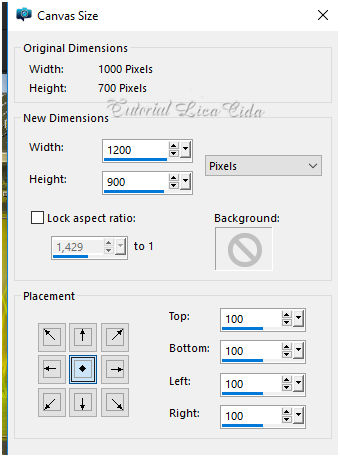
Effects → Edge Effects → Enhance. Layers → Merge → Merge Group. Effects → 3D Effects → Drop Shadow: 0 / 70 / 80 / 0,00 — Color: #ffffff. Repita o Drop Shadow. Plugin Alien Skin Eye Candy 5: Impact → Perspective Shadow — Blurry. Layers → Merge → Merge Visible. 14_. Image → Canvas Size: 1200 x 900 — Top / Bottom / Left / Right: 100.
Effects → 3D Effects → Drop Shadow: 0 / 0 / 80 / 40,00 — Color: #000000. 15_. Layers → New Raster Layer. Selections → Select All. Edit → Copy na IMAGEM MINIMIZADA Edit → Paste Into Selection. Selections → Select None. Layers → Arrange → Send to Bottom. 16_. Plugin AAA Frames → Texture Frame (Default). 17_. Edit → Copy na imagemminimizadareduzida Edit → Paste As New Layer. 18_. Plugin AAA Frames → Texture Frame (Default). Effects → 3D Effects → Drop Shadow: 0 / 0 / 80 / 40,00 — Color: #000000. 19_. Edit → Copy no tube AS tube 90a-e27 Edit → Paste As New Layer. Use a gosto. 20_. Edit → Copy no elementomask Edit → Paste As New Layer. Use a gosto. 21_. Image → Add Borders: 2 px, Symmetric marcado — Color: #000000. Image → Resize: Width: 1000 px. Aplique a marca-d'água. Assine e salve. Espero que gostem. Obrigada!
Aparecida / LicaCida, junho de 2021.
Copyright ©2026 - Web Design - Naise Minas |