|
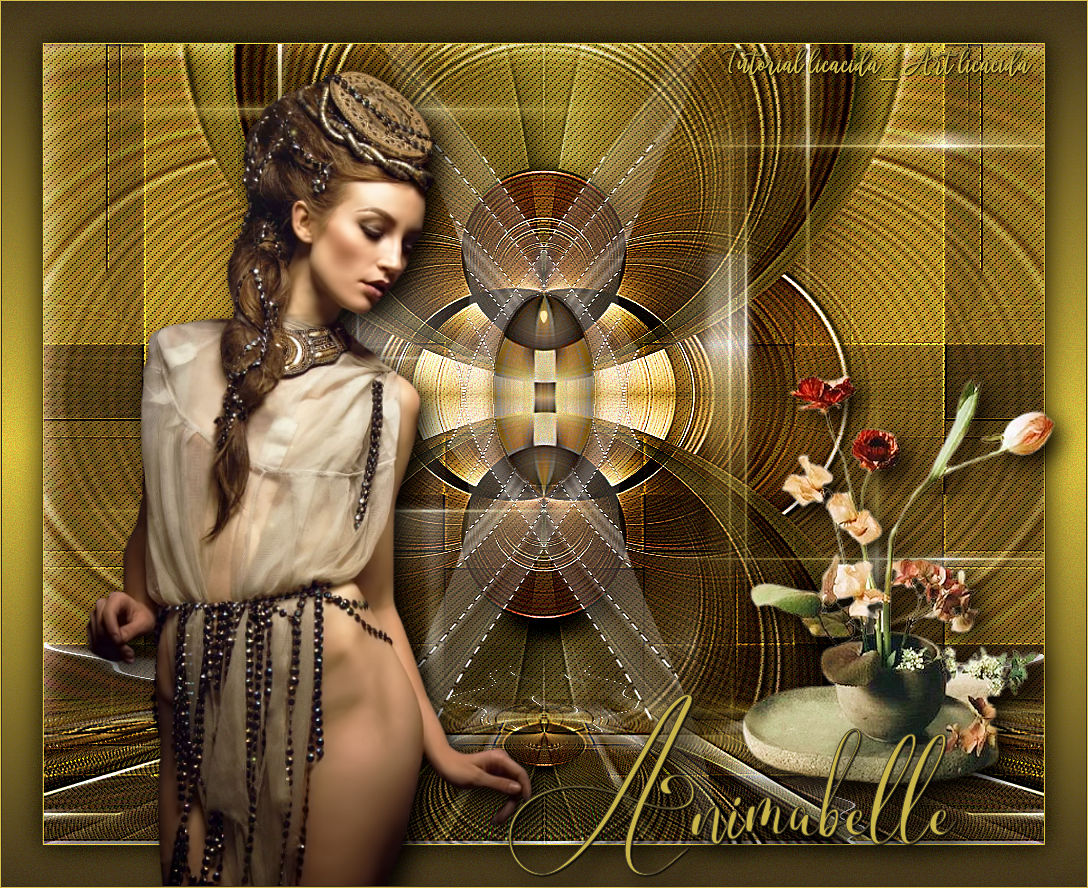
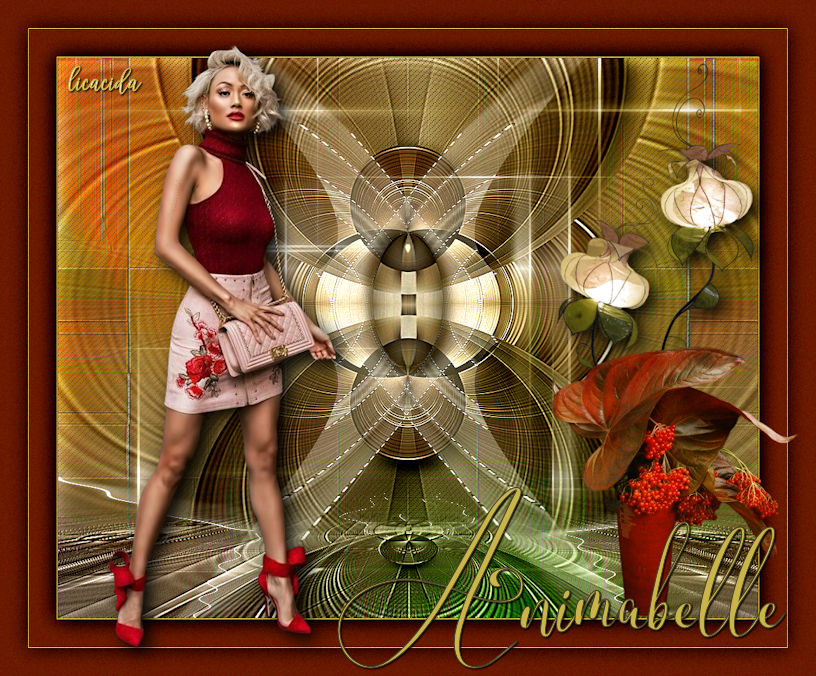
Animabelle TRADUÇÕES
MATERIAL
Preset: Preset_Airbrush_paisagem --
Tubes: 89_Femmes_Page7_Animabelle
Decor: decor_nmcriacoes_79 (1)
Texto: textoAnimabelle_lc
Marca-d'água.
Versão usada: PSP X9.
PLUGINS
Plugin Filters Unlimited 2 → &<Background Designers IV> → @Splish
TUTORIAL
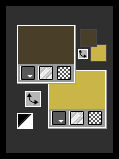
Configure: Foreground: #49402a — Background: #cab648.
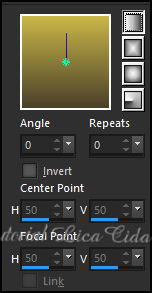
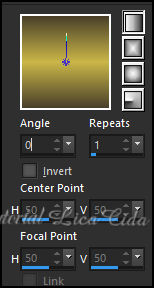
1_. Abra uma nova imagem transparente de 1000 x 700 px. Pinte com o gradiente Linear formado pelas cores configuradas acima. Observe o print.
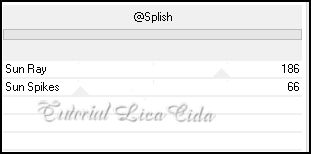
2_. Plugin Filters Unlimited 2 → &<Background Designers IV> → @Splish.
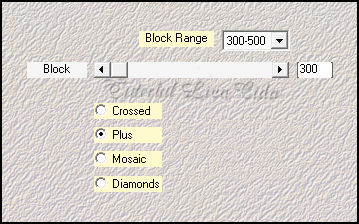
Repita duas vezes, com os mesmos valores. 3_. Plugin Toadies → Weaver — Default. Effects → Edge Effects → Enhance More. 4_. Plugin Mehdi → Sorting Tiles.
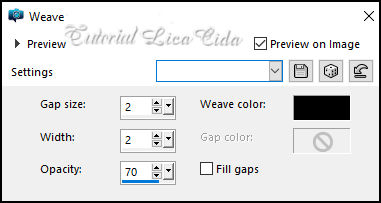
Effects → User Defined Filter → Emboss_3. 5_. Effects → Reflection Effects → Rotating Mirror: 0 / 0 — Reflect. 6_. Effects → Texture Effects → Weave — Weave color: #000000.
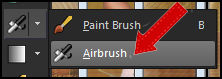
7_. Edit → Copy no efeitoprincipal_lc Edit → Paste As New Layer. Adjust → Sharpness → Sharpen More. Layers → Duplicate. Altere os Blend Modes: Raster 2: Soft Light — Copy of Raster 2: Overlay. 8_. Layers → New Raster Layer. Mude a cor do Foreground para #ffffff. Ative a ferramenta Airbrush:
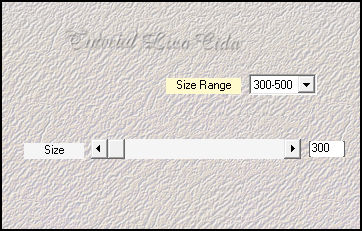
Procure o preset paisagem e mude o Size para 250.
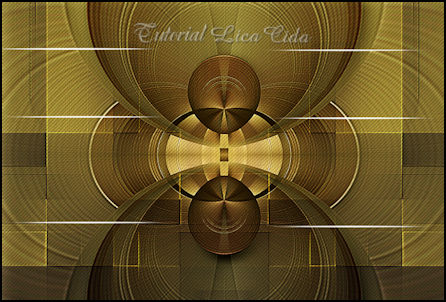
Use como no modelo:
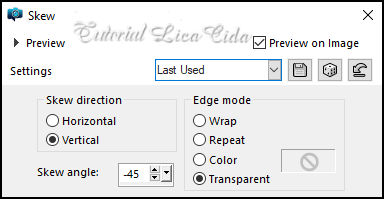
9_. Effects → Geometric Effects → Skew.
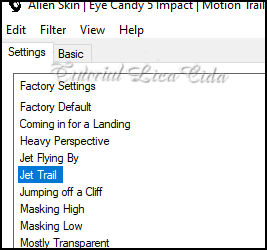
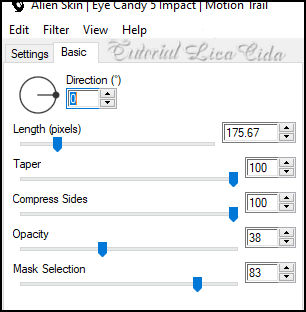
Layers → Duplicate. Image → Mirror → Mirror Horizontal. Layers → Merge → Merge Down. 10_. Plugin Alien Skin Eye Candy 5: Impact → Motion Trail.
11_. Plugin Mehdi → Weaver.
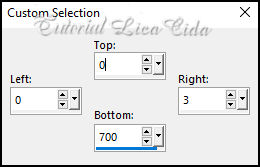
Layers → Duplicate. Layers → Merge → Merge Down. Opacity a gosto. 12_. Image → Canvas Size: 1000 x 800 — Bottom: 100. 13_. Edit → Copy Special → Copy Merged. Edit → Paste As New Layer. 14_. Plugin MuRa's Meister → Perspective Tiling — Height: 20 (demais valores iguais). Com a ferramenta Magic Wand — Feather: 60, clique na parte transparente e pressione Delete (cinco vezes, para suavizar o efeito). Selections → Select None. Effects → User Defined Filter → Emboss_3. 15_. Effects → Reflection Effects → Rotating Mirror: 0 / 180 — Reflect. 16_. Ative a ferramenta Selection Tool (tecla S) → Custom Selection.
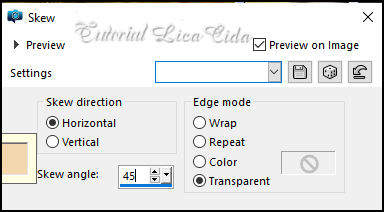
Layers → New Raster Layer (Raster 5). Pinte com a cor #ffffff. 17_. Effects → Geometric Effects → Skew.
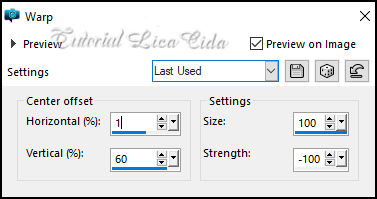
18_. Effects → Image Effects → Offset: H: 25 / V: -10 — Custom e Transparent marcados. Layers → Duplicate. Image → Mirror → Mirror Horizontal. Layers → Merge → Merge Down. Image → Mirror → Mirror Vertical. 19_. Effects → Distortion Effects → Warp.
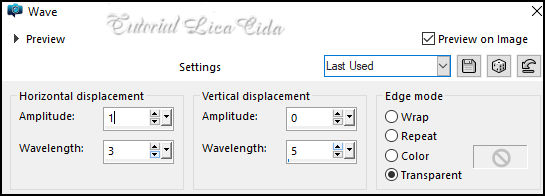
20_. Plugin Alien Skin Eye Candy 5: Impact → Motion Trail (print do item 10). 21_. Effects → Distortion Effects → Wave.
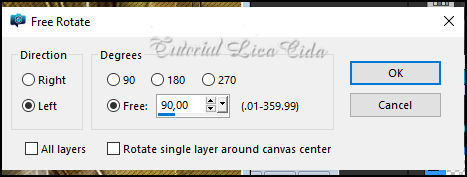
22_. Na Raster 5: Edit → Copy no decor_nmcriacoes_79 (1) Edit → Paste As New Layer. 23_. Effects → Distortion Effects → Pinch — Strength (%): 100. Aplique duas vezes. 24_. Image → Free Rotate.
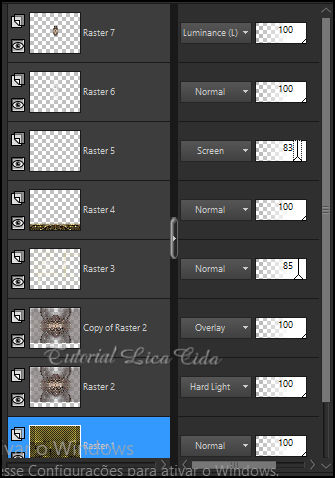
Centralize. 25_. Edit → Copy no decocentralefeitoprincipal_lc Edit → Paste As New Layer. Posicione. Altere os Blend Modes e a Opacity das layers.
BORDAS Image → Add Borders: 1 px, Symmetric marcado — cor do Background. Image → Add Borders: 1 px, Symmetric marcado — cor do Foreground. Image → Add Borders: 40 px, Symmetric marcado — Color: #ffffff. Selecione essa borda. Pinte com o gradiente Linear formado pelas cores configuradas acima. Observe o print.
Selections → Invert. Effects → 3D Effects → Drop Shadow: 0 / 0 / 80 / 40,00 — Color: #000000. Selections → Select None. Image → Add Borders: 1 px, Symmetric marcado — cor do Background. 26_. Edit → Copy no tube 89_Femmes_Page7_Animabelle Edit → Paste As New Layer. Posicione a gosto. 27_. Edit → Copy no tube Callitubes-140flores (1) Edit → Paste As New Layer. Posicione. 28_. Edit → Copy no textoAnimabelle_lc Edit → Paste As New Layer. Use a gosto. Opcional: Image → Resize: Width 1000 px. Aplique a marca-d'água. Assine e salve. Espero que gostem. Obrigada!
Aparecida / LicaCida, novembro de 2021.
OUTRO MODELO
Copyright ©2026 - Web Design - Naise Minas |